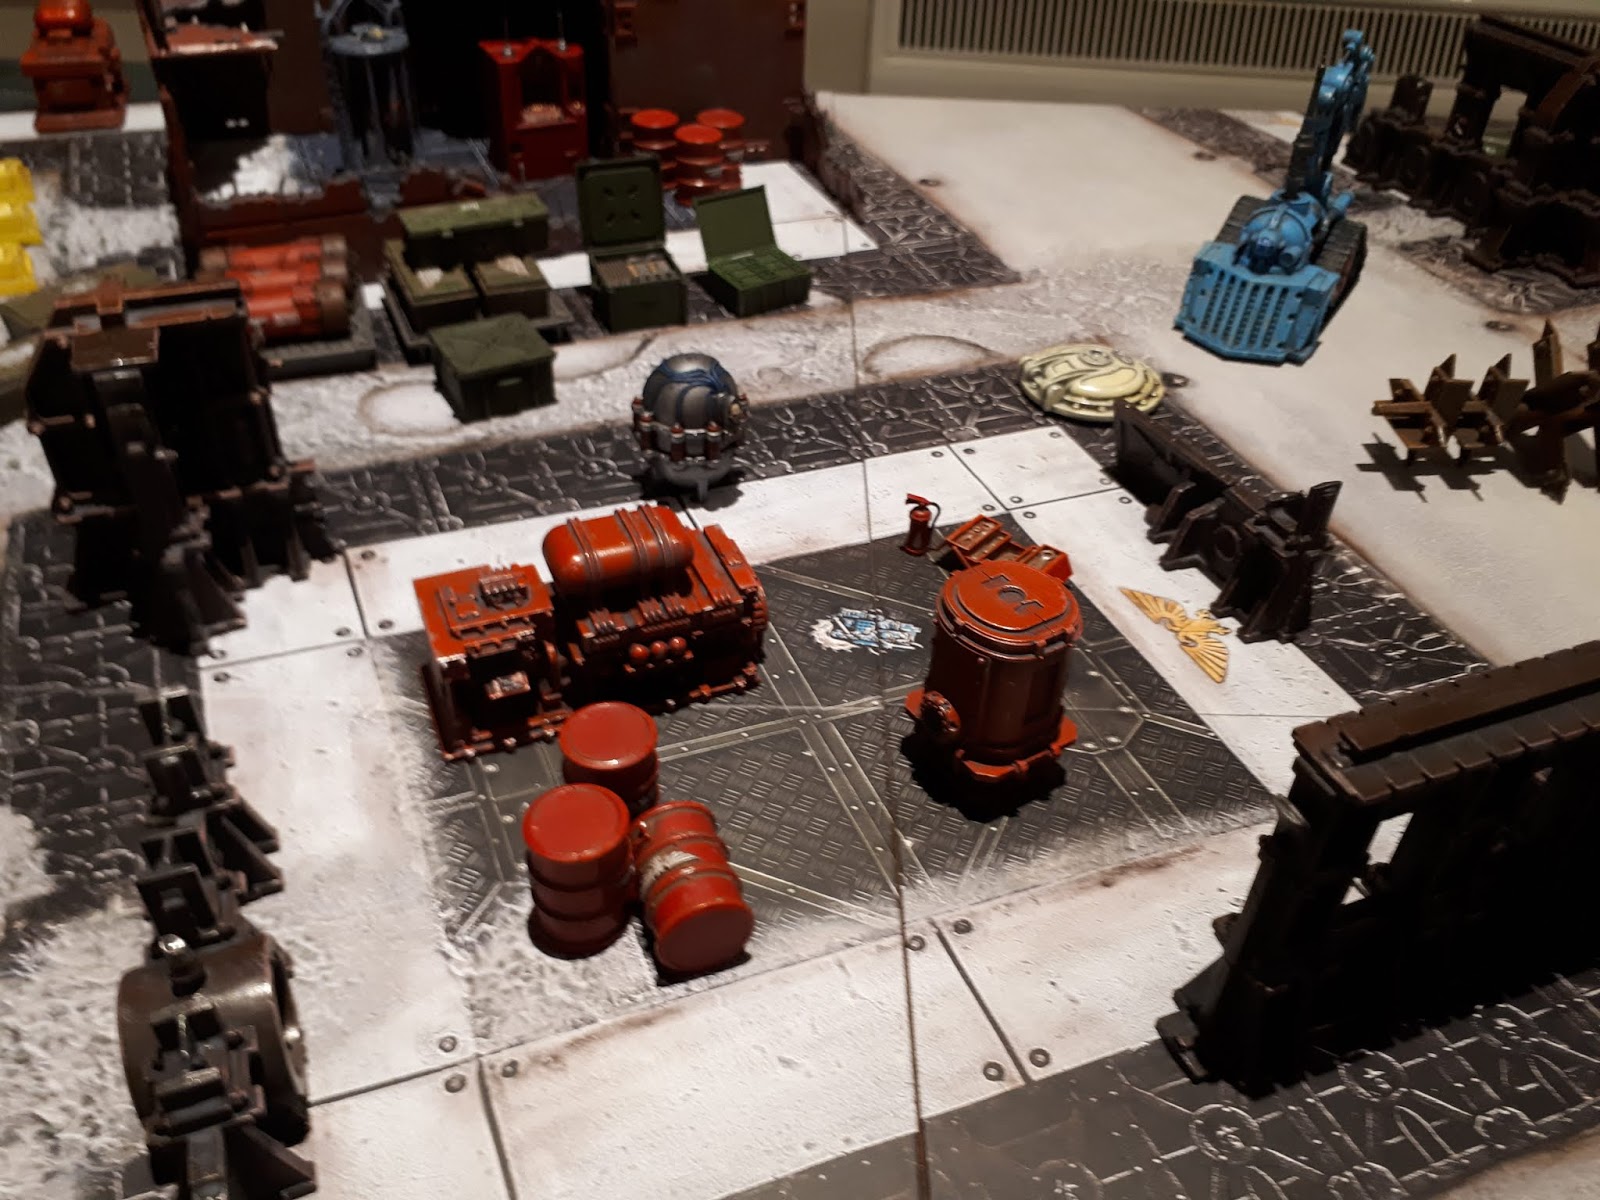
Saturday, June 6, 2020

Twitch Instincts

I have come to hate video production, it takes what joy I got out of painting and sucks it away with checking camera angles, fighting the auto focus and not being able to paint at a leisurely pace that unwinds the brain. I also can't do Twitch. I generally do fine until someone actually joins the stream and starts to talk to me. In an instant what was a pleasurable meditative state becomes remarkably stressful, and I am very much not here for it. So with all that said, I think I'm done with painting entire projects on video. It is not fun and if I am going to do any more videos they will be very small technique demonstrations, which when pre-planned, are much easier to shoot and edit.
Rant done, now on to what I've been doing with myself lately.

The recent plague situation has theoretically meant more time indoors and at home to paint. Despite this, the actual malaise caused by living in these times, combined with the fact that I am working just as hard at my day job from home, means that my mental capacity for such work is greatly diminished. Never the less, I primed a load of miniatures for this upcoming period of isolation. What is most remarkable about it is that I'm coming to the tail end of my last major army projects, meaning I can move on to a variety of eclectic and smaller projects, rather than endlessly batching out the same rank and file.

To start with, Shadowspear. This project was a slog, combined with a bunch of demons I got from a dual purchase. I'm genuinely glad to see the back of it and I hope never to paint another marine for several years. I bought the box mostly for the updated Chaos models and the Ultramarines were a nice bonus. With that done I think I have more than enough miniatures to throw down for a 40k game, I hope to move on to a variety of other publishers for more varied material in future.

As for the miniatures themselves, I really do like the updated Chaos models, they are scaled up nicely to match with the new Primaris and their poses are pretty good. I especially like the new Obliterators, which give them a chunky, more menacing look. This look better reflect how well they perform on the table.


On the Ultramarines side of things, I kinda dig the new tacticool infiltrator marines, Picatinny rails on the Boltguns and all. That being said, I am still very much over painting them. I also had quite a hard time with the camo cloaks. Trying to combine a disruptive pattern uniform with shading and highlighting is frequently the bane of my existence, and I'm not looking forward to attempting it on some more contemporary figure that I have coming down the project pipeline.


With the trad fare out of the way I've also taken some time to paint a variety of smaller projects, mostly from my regular opponent goblinpaladin. These were really fun, and great opportunities to try out a variety of different techniques.

The first two were some freebies that I got for picking up some old Pal Ratha minis for Goblin's fantasy army projects. In the end I wasn't to revolutionary with how I painted them, and they turned out as just another relaxing project between armies. That being said, I'm really happy with how the Elven maiden's cloak turned out. My usual deal of starting with a high highlight basecoat and glazing in the mid tones and the shades worked very well.


These minis were more of Goblin's spares from another order, and I gotta say, props to the smaller manufacturers for creativity when the major manufacturers aren't aiming for that. These are mostly figures of noble bearing from a sci-fi civilians range. I'm very happy how all of them turned out, though as usual the noblewoman's blue-gray ceremonial armour was an utter pain to get right.


These two are from Ex-Manus a local sculptor that comes around to Cancon every year.  I like supporting the local guys, so I usually pick up a couple every time I see him. I also have a 'Totally Not Kora Elemental Bender' figure currently sitting in simple green, so I'll get around to her later. I admit, the sculpts aren't the most crisp, but I certainly love the charm and imagination that goes into the characters.


I've also been working on my scale models and display painting. To start with a variety of small practice vehicles, mostly as an excuse to practice my enamal techniques. All of which have turned out pretty well, especially the use of oil paints for soft shades and highlights. I've also finished up the Huntress from Nocturna. She is going to be entered into ScaleACT assuming that it does not become another casualty of the 'Rona.


I've also had to do a couple of fairly substantial projects in the lead up to isolation, all because I was expecting to play in a tourney in Wintercon this year, thus I had to prepare a shitload of 15mm US GIs for Chain of Command. All of which showcase my low effort batch painting in its finest, complete with using enamels to shade. But now that Wintercon is dead for now, they have fallen off the priority stack, especially since the AT guns I need to finish will have to be an order away to the UK.


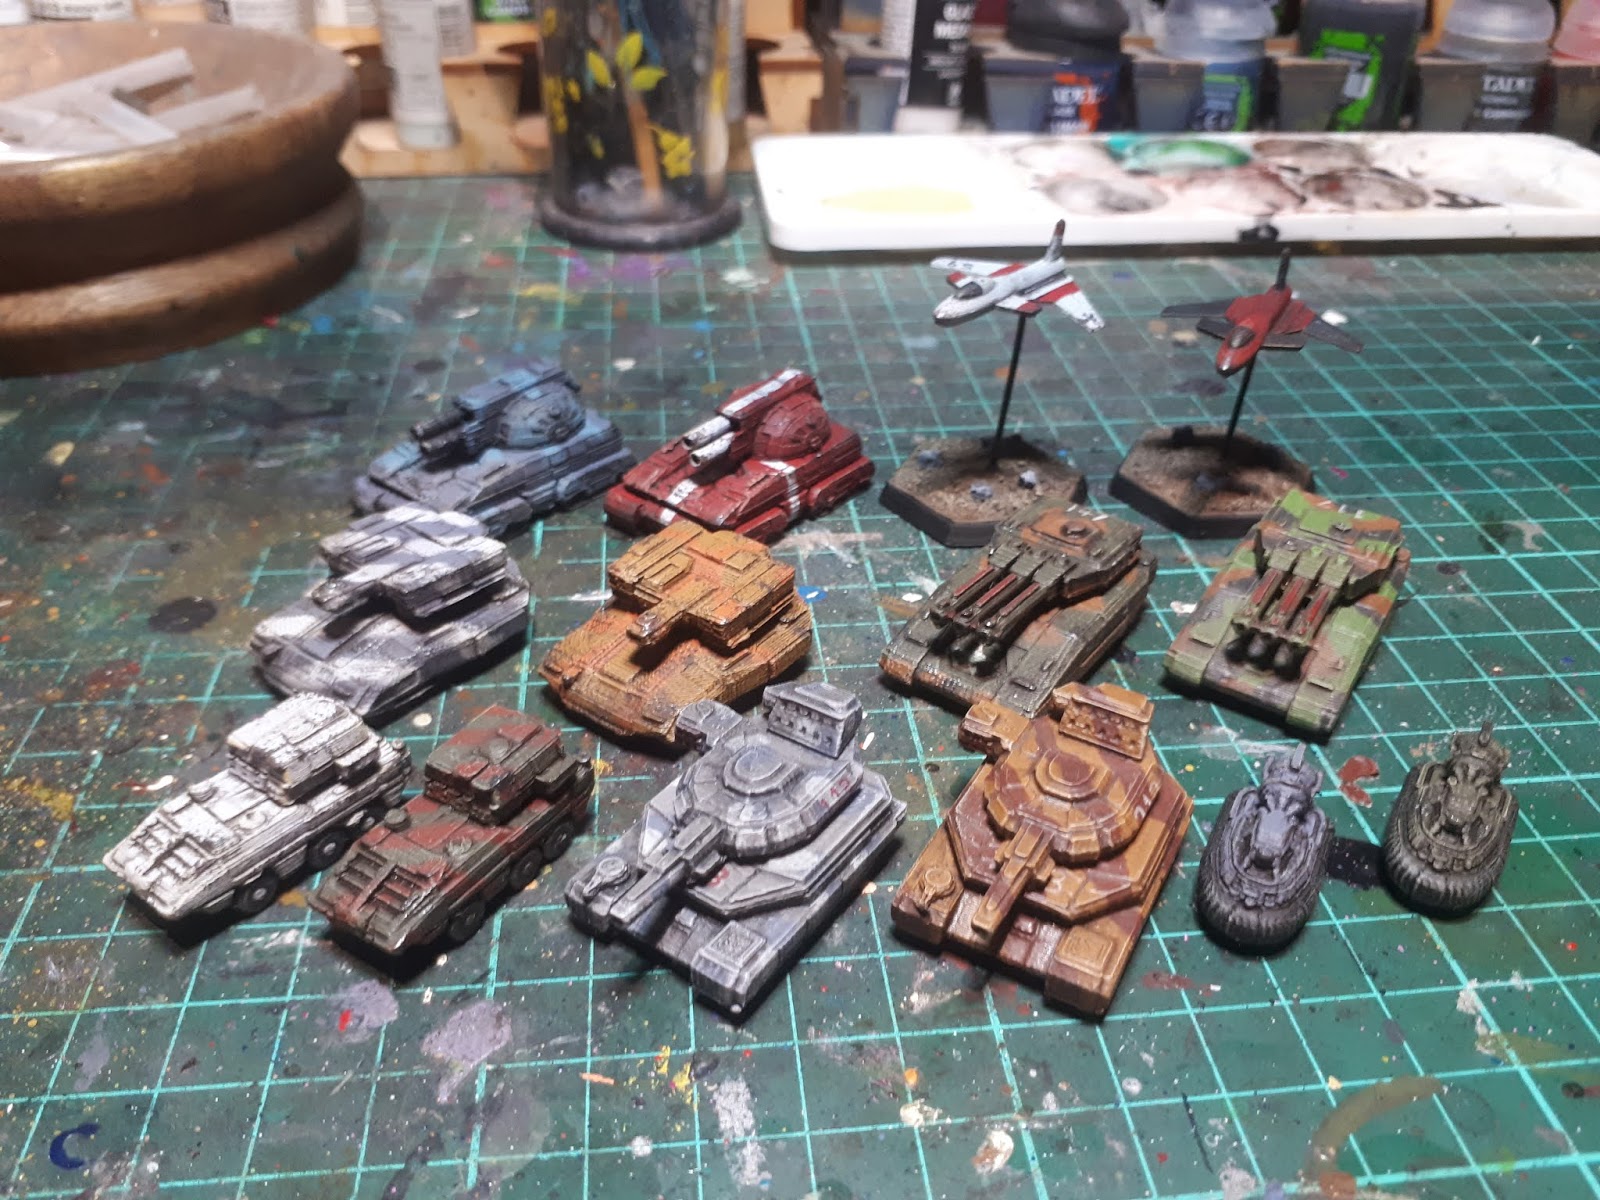
Also, more Battletech. Just some more 3D printed mechs and vehicles so I can fill out an Alpha Strike company. I wasn't aiming too high for paint quality, but they will do, and will certainly look decent when massed on the table top.


Also, another project wrapped up for good. I was finally able to source the paints I needed to finish my PanO, so I did. This is another project that I won't expand on for some time, especially since they will require some fairly intense airbrush work.


After looking back through Instagram, it occurs to me that I have knocked over plenty of projects which I haven't really written about. Perhaps I shall go back and write about some of them, especially since my desire to do video work has dropped to almost nothing and I would like to practice my writing.

I think that will do for now. Until next time.


Thursday, June 27, 2019

Contrasting Opinions: A Review


Contrast has been on all my painting related feeds and the takes about it have been flying thick and fast. In aggregate they have been generally positive but measured, which is probably the most sensible of them overall, with a few outliers on the fringes of the discourse. The positives of it are that it generally does what the advertising hype says it does, though with all paint ranges some of the colours do a better job than others. The outliers on the against side claim that this product isn't a magic bullet for painting, which to a degree is true, and that it will teach people bad habits about how to professionally paint miniatures to a high standard, which I mostly disagree with.

Anyway, since I have enough disposable income I have picked up a swath of the paints to try out on a few Reaper Bones monsters that I picked up some time ago solely to use as demonstrator miniatures for A Song of Blades and Heroes.

Usage


Since I am mostly going to be painting monsters and animals, I reasoned that Wraith Bone, being a warm white would be an ideal starting point. I also picked up a pot of it as a base paint to re-layer the base in the event of colour spilling over. I also grabbed some Praxian White to act as a highlight for the wraith bone, the idea being a two stage priming coat. 


To start with I put down the priming layer right onto the models. Then gave the models a drybrush with the Praxian White to try and emphasize highlights for the contrast paint.


After all the preparatory work was done and dusted I gave my first attempt at applying the Contrast a go. It went on easily and worked as advertised. My main complaint with it is that it is a very thin and runny liquid, which means applying it thick has a tendency to overload the brush and result in spillage onto other areas. After the initial coat I did soak up some of the excess with a damp brush, which was a good idea as despite the promises of the paint, still performs like standard GW wash in many respects and excessive pooling remains a problem if you aren't careful. After I let the contrast paint dry I cleaned up the over spill with more Wraith Bone base paint in preparation for more applications of contrast.


I repeated the steps described above for every other non metallic colour on the model. For the metallic chain mail and spear tip I put down a basecoat of VGC Gun Metal, and once it is dry I put down a layer of Black Templar to darken down the metal, which has a finish similar to a wash of Nuln oil.


The only stage that didn't use contrast was the base, which I did using a three colour base, overbrush, then drybrush method to do quickly. After that all that remained were a few other details which, like the other colours got touched up Wraithbone and painted with small amounts of contrast. In this case the details were the teeth, bone, and eyes, the eyes got a saturated yellow colour while the bone and teeth got the standard contrast bone colour.


With the Orcs out of the way I went to town with a variety of other colours on a selection of Bones minis and tried to see what they could do. You can see the results below. I'm extremely happy with how the Owlbear turned out. He was an experiment as to how you'd go about blending contast paints together, you can see the result on the belly. It was an experiment that mostly worked, though some fairly careful paint control is required to prevent one colour from fully taking over. Even so, this effect did require some more re-layer and blending to get right. The one thing that didn't work well was the fire effect, which can be seen on the Kobold mage, as to make that look realistic you have to invert how you normally do highlighting and work from lightest to darkest. Due to the nature of the paint this effect obviously wouldn't work, and to be honest I was too lazy to attempt the effect properly. It also is good as a filter on eyes as a glowing effect, as you can see on the weird fish monster, my apologies as I don't know the name of it.


Conclusion

Contrast works, but only to a degree. I also believe that this style of painting works better with more organic looking creatures like monsters, undead and zombies. On miniatures that are meant to look cleaner I believe that more traditional painting achieves a crisper effect . But you still can't argue with the speed it brings a model up to the bare minimum standard for the table top, which is why this product was created in the first place.

I have heard reports that it tends to rub off with handling, and while I haven't experienced it, a simple coat of matt or satin varnish should provide enough protection if you intend to use miniatures painted with Contrast as gaming pieces. While Games Workshop marketed this product for a specific purpose, the reality is that this product can be used to achieve many more effects than simply tinting a warm or cold white base colour in order to paint a miniatures. Games Workshop have already talked about using this to tint metallics to create different shades of metal, while this is one of the uses, this consistency and finish of Contrast are extremely similar to an artists ink, and can be used for similar tasks. The first one that came to mind, and that I experimented with were some simple freehand tattoos. Just paint on your design directly onto some finished skin with a very sparsely loaded brush, and once your design is done glaze some of the flesh tone over the top to make it look like the design is under a layer of flesh. This could extend to other applications, from freehand banners, to text on scroll work, this product is also potentially useful as a weathering effect. A brown colour can be painted onto terrain and legs of troops, then combined with Agrax and Typhus Corrosion to look like the model has been immersed in dirty water. Another idea is to stain clear plastic windows and canopies to tint them. I'm going to try this later and I'll report back on the results.

Overall, it is a worthwhile product, in terms of its effect, it handles similar to the existing glaze paints, but a far more pronounced effect and greater pigment density. This effect that can be reduced with the use of medium. As magic bullet for painting, it does what is advertised, though the quality of the finished work is low to middle table top standard at best, and if you want to get clean lines with it, expect to go back and repaint the base colour to clean up over spill. But for achieving extremely high standards of painting, you are still going to have to employ every tool that you have in your painters toolbox. Contrast is an interesting new technique, but it isn't the only technique, and I suspect this is why the pro painters are fearful that it will teach new painters a lot of bad habits as they come into the hobby.

Monday, June 3, 2019

The Thinnest of Coats

On Glazing

Glazing is a word bandied around in the miniature painting world but it is often used to describe a broad spectrum of similar techniques. So to start this article, there are a variety of techniques that can loosely be described as glazing and they are perfectly valid methods for achieving an effect. I'm going to describe my technique for glazing, and what situations are best for applying this technique.
To start with, I believe glazing is the most effective when you are glazing from highest highlight colour to the darkest shade. It is possible to start as a shade or mid tone, and glaze up, but this is a far more time consuming process, that is not to say that I don't do it. I tend to do this for thing highlights, but this often takes many more layers with significant drying time in between.

These are the colours used for this project, one mistake though I ask you to mentally replace the bottle of gloss varnish on the right with a bottle of Vallejo Glaze medium, thank you.

Stage One: Preparation

For this example I used my old school Commissar model to demonstrate this technique.
To start I applied a combined Chaos Black / Zenithal Corax White undercoat. As usual, I have fully prepared the model and have put down my usual layer of basing material before any undercoat hits the model. For this example I will be painting the greatcoat and hat material only, and I'm aiming for a black-grey colour.


Stage Two: Highlight Basecoat

To start the actual painting for the greatcoat I applied fully even coat of one of my highest highlight colours, in this case the highlight colour is Wolf Grey. Since this is a very light colour it will take two to three coats of colour to get an even layer. Once this coat is down, dry, and even, I now have a base on which I can work on our mid tones and shades. Since this was a base coat I used a basic base coat brush, one that can take a bit of punishment.


Stage Two: Mid Tone Glazes

For this stage I glazed in my first few mid tone layers of Shadow Grey. To start with I mixed the Shadow Grey with Glaze Medium at about a one to one ratio, with some water mixed in to reduce the thickness further. This resulted in a very thin liquid with virtually no viscosity, which is what I needed to achieve a consistency which works as a glaze. To apply this I switched to my Windsor and Newton Series 7 brushes, in this case a size two watercolour brush. To apply the paint I layered each section of the greatcoat with this mix with a downward stroke so that the majority of the colour tends to build up towards the bottom. The glaze medium also helped this colour run into the deepest recesses to further define our shadows. This stage is the most time consuming and can take upward of ten layers with significant drying time in between.


Stage Three: Shade Tone Glazes

This stage involves shading down the model even further. While I originally intended to make the Shadow Grey the majority colour of the model, I ended up leaning further into black. For this stage I used Black mixed with Glaze Medium and water at similar ratios to the previous step. I also used the same technique, painting from top down and also putting more colour into the shadow areas, such as under the arms and under the hat, and in the collar.

Stage Four: First Layer Highlights

This stage involves applying our first highlight layer. To start with I went back to our original underpaint layer of Wolf Grey and mixed it with Glaze Medium and water. To apply this I used only the tip of my brush and painted using upward strokes, ending the stroke on the most prominent points so that the colour would accumulate where the highest highlights should go. I repeated this process until I felt I had emphasized the highlights enough.


Stage Five: Second Layer Highlights

This was the final stage of the highlighting process. In this case I did not include any glaze medium in the mix and went with pure colour, in this case Ghost Grey, and thinned it with water. I was very selective as to where I applied this highlight, putting it on the highest points and sharpest peaks of the model to further emphasize the highlights.


Conclusion

Overall I find this technique very useful for blacks and grays, as it really provides a subtle transition of colour that you would normally have a hard time achieving if you start off from a black base coat, as the only way you can go from there is to highlight up. If you are not in a hurry this works well for characters and heroes as each layer by itself is relatively insignificant, but at each stage you can wait for it to dry, evaluate it, then decide if you've applied enough colour or not. This technique can also be used for tinting a variety of colours, as a matter of fact I've already covered this topic here and here. All of these techniques involve starting at your highest highlight and shading down. Most wargaming level painting teaches you to start at your mid or base layer and work your way up. To be fair going the other direction often isn't intuitive, but once learned can really help you use methods and techniques to to help speed up your painting without sacrificing quality. As a matter of fact, the new Contrast paints appear to be formulated to make use this shaded basecoat method that was first pioneered by James Wappel, citation needed of course. Traditionally painters use artist inks to achieve this washing in of colour, where Games Workshop appears to have made a product to take the hassle out of doing this step. With this in mind I'll probably pick up a selection of Contrast paints and the associated spray and do a review of them, either in video or text format depending on what I feel like and if my camera setup can hack it. Anyway, I hope this helps and best of luck applying it.


Saturday, April 27, 2019

Rest & Reorganisation

I'm coming down off one of my worst bouts of illness in recent years. A particularly brutal influenza that manifested with the symptoms of being unable to regulate my body temperature, a cough that can only be described as tubercular, constant headaches, and intense fatigue. It was bad enough to knock me out of work for a full week, and the subsequent one I had to spend it working from home in order to avoid annoying my coworkers with the lingering cough. Unfortunately this meant that apart from one major project cleared, in spite of all this time at home, I was extremely unproductive with my painting.

Now that the illness is on the brink of defeat, with a slight cough being the only remaining rear guard, I have finally found myself with enough energy to do some more hobby. To kick things off I decided to do a full inventory of my outstanding projects on my to do pile, and I've planned out my next sequence of painting logs and organised my storage accordingly, this is the result.

Taking Stock


I'm still only half way through Project Log #5 at this point. However, apart from a full Late War British Flames of War Army, it is down to lots of small projects, single miniature and a lot of Gaslands cars, most of which will probably end up as a birthday gift to a niece rather than undergo the conversion and painting process, at this point I have more than enough to field almost any team I want.

Project Log #6 will be the final push for my lead pile, the sum total of all that remains. While I am going to avoid adding to it as much as possible, it will still take me some time to reach the point where I can officially make a start on it. Unlike my current backlog it is heavy on armies rather than single miniatures, which is going to be a return to the hell of batch painting unfortunately.

Horus Heresy

Way back when I was convinced that I would get into the Horus Heresy gaming I picked up a copy of the the Burning of Prospero to serve as my starting point for a Marine army. I'm still equivocating over which chapter I'll go with, alternating between Dark Angels and Imperial Firsts. Since my interest in it has dropped significantly I'm probably going to save this one until last, as I've had my fill of painting power armoured lads.

Warhammer 40k

In spite of my annoyance with Marines in general I'll probably end up starting and finishing my Chaos expansion first, as my current Chaos army could use a refresh and expansion with the new models from the Shadowspear boxed set and general release. Since 40k is still one of the games that I play fairly regularly I'd also like to get more variety in what I can bring to the table sooner rather than later as well.
I'll also paint the Ultramarine sneaky Marines at some point and add them to my all-Astartes army, but my enthusiasm for them is fairly low, so they'll probably feature middle to last in the priority stack.
I've also got some Gretchin that my parents gave me for Christmas and a 25th Anniversary Marine, which will make a nice display painting project.

Spartan Games

While I sold off most of my old Dystopian Wars stuff I kept the Australian fleet boxed set to paint up at some point, more for display than gaming. I also kept most of the Firestorm Armada stuff and will get to it at some point, mostly the new wave of Terran and Dindrenzi models. I've also got some Planetfall Terrans, which will also be a very simple project to complete. Most of these I intend to use as palette cleansers between major painting projects.

Flames of War

It turns out I still have a lot of Flames of War left over from a bygone era, which I couldn't bear to sell, so still remain in the lead pile. The particular kits I've got are mint early war pre-plastic stuff, so would probably fetch a tidy sum on ebay, but I covet them too much myself. I've got a full Rifle Company and Armoured Squadron for early war, complete with some fearsome Matilda IIs to provide a slow by heavily armoured spearhead to the force. I also have some off brand Vietnam ANZACs that will make a nice APC mounted rifle company with gunship support, mostly for display purposes as well as some small pieces of terrain.

Everything Else

There are a few smaller scale army projects that fit into this pile. I have a second attempt at some UCM from Dropzone Commander, mostly for display purposes as the game is pretty much dead at this point. One of the more interesting projects is some zombie apocalypse survivors and some zombies to menace them. I am planning on using these to test out a home brewed single player war game with AI driven zombies.
I also have some metal WWII German Grenadiers and British Riflemen, about a platoons worth for each. I also have a small bunch of Private Military Contractors and generic insurgents, which I am planning on using for a half formed close quarters firefight game.

The Story So Far

Illness aside, I've been pretty busy since my last blog post. The most significant feature of this period is that I've been on a bit of a Gaslands kick, and have converted a lot of cars.


I've decided to put a moratorium on any further Gaslands war until I get access to a 3D printer for a wider variety of conversion bits. Still, I have more than enough cars to field any kind of team I want. Unfortunately I still have a huge pile of Matchbox and Hotwheels sitting on my shelf that need attention, though at this point I'll probably get rid of most of the leftover cars at this point, as I mentioned earlier.


I also produced a couple of tutorial videos on my usual conversion process for Gaslands cars. My approach is fairly simple and crude, but it is relatively quick for getting cars on the table.

The terrain is also will and truly done, not much more to say about it other than, I'm happy that I won't have to do any more of it until I finally shell out for an urban Realm of Battle board.


Finally, I've made a start on my next project. Getting through my Necromunda gangs, starting with this Goliath test miniature.

That is pretty much it for now, for the rest of the year it'll probably be a continuation of the death march through #5 and #6 looming on the horizon sometime in 2020.

Oh, my regular opponent has thrown his metaphorical hat into the blogosphere, I encourage you all to read him here.


Wednesday, March 20, 2019

Theatre of War

Wargaming is a bulky hobby, and if you area reading this blog the odds are good that you have played at least one game of Warhammer 40k at some point in your career. What is the bare minimum for a decent game of 40k, enough to make the entire table top experience aesthetically pleasing. The two main components being armies of course, fully painted and based to a reasonable standard. I'm generally one of those tiresome bores that will get annoyed about facing bare plastic on the table, this of course is a sliding level of annoyance depending on how much of the rest of the army is painted. But the armies are the main reason for being, everything else is a stage on which these two actors take part in a swirling melee. However, if the stage is neglected, then the final view of the player of the tabletop may not be as immersive as this hobby was intended.

The terrain is one of the most frequently under developed aspects of the experience, often being mismatched, underbuilt, underpainted and generally lackluster in presentation. I personally find that if this aspect is neglected it can take almost as much out of the experience. The worst factor in this, when mismatched terrain. This can result a decidedly odd looking battlefield at the best of times, bleak and uninspiring at worst.  It doesn't make a lot of sense to litter a green fields with densely packed industrial ruins, not unless you go to the trouble of dressing them up in vines and overgrowth to imply the passage of time slowly subsuming the ruins as nature reasserts itself. Likewise trees in the middle of an industrial estate seems out of place, unless you are grouping it like a public park in the middle of a futuristic industrial hellworld. To summarize, theme and consistency make the best tables. It helps enhance the story of the unfolding clash and sets up those game book art vistas, that is of course both of the armies are fully painted.

To get a decent table going time and money need to be sunk into the hobby, and that is on top of any miniatures. The quantities of paints and utilities needed also tend to be far more than most minis, which only exacerbate the financial requirements of a good board of terrain.
The alternative to investment is to have your battles at your FLGS, which may or may not be your local games workshop. I am fortunate enough to have an excellent FLGS nearby with an extensive range of terrain and plenty of table space. However, this is not always an option, so and you may find yourself a slave to opening hours and the whims of your fellow gamers if this is your venue of choice. However, still cheaper than building a board. However I'd like the flexibility to do both as needed, home after all, is where all my things are and I like it there.

So, this was a long lead in to what I've been painting, which is a lot of Games Workshop terrain. It has been burning a hole on my to-do shelf and I've finally made the jump to burl through it at as fast a pace as I can managed. To be honest I find I've been dropping my standards and attention to detail in order to get it across my desk. At the time of writing I've knocked off a lot of the smaller stuff, and I'm now facing down the larger sets of ruins. To help me get through it I've found myself pulling a smattering of different projects off the shelf and prepping them for a paint job. I do worry that this is I'm going to find myself in a situation where I have a dozen different projects in a halfway state, a state that I would prefer never to get into again.

Terrain


I don't normally do a massive assembly run like I did with this batch of projects, but terrain does make itself uniquely suited for doing it due to the need to paint the terrain in a slightly unified fashion. Also the fierce Australian summer is in retreat and more and more days are falling into the temperature range that allow for comfortable airbrush sessions on my balcony. So I'd like to have all of it ready to go for when a I get a particularly good day to paint.


Most of the work is fairly simple and requires no real finesse to accomplish. For these trees I layered up the trunks, painted the mushroom clusters khaki, washed the lot of it with Agrax, then drybrushed the at layer with VMC Buff. The alien flora I painted with whatever I had lying around in my crate of VMC, washed it and drybrushed it with whatever colour I felt appropriate. Overall the effect is good enough for table top.


Actual machinery and buildings are a far greater challenge than plants as you have to be a bit more precise with the painting. However, for the sake of expediency I chose to pick a primary colour, a secondary to accent it, and a few parts for metallics. This keeps the time needed for basecoating down, as the largest coat can go down with an airbrush and the secondaries aren't much in terms of surface area. Once that was all done, with a few drybursh highlighting passes to taste, I used a sponge technique to beat up the metal components to add a chipped, scratched and well worn technique. While I did not do the best job with this technique it was good enough to add some interest to the model. Finally, a gloss coat of floor polish down, then I went to town on them with my AK enamels, adding and taking away to taste with a variety of colours until I was happy with the result.

Minis


The last of the Kill Teams went by pretty quickly, overall I think I hit a high tabletop standard with all of them, and it was nice to try my brushwork on a wide variety of the GW catalog, rather than batching painting wave after wave of either Space Marines or Guardsmen.


For the Genestealer Cult I got a chance to use wash painting for a project larger than a single miniature. Overall I'm extremely happy with the finish and the ease that it went down. I'm thinking about using this technique for some Heresy era Imperial Fists at some point.


I did try to produce some tutorials while doing my Ad-Mech and stream my painting as well. I ended up dumping the footage on youtube without much post production work. I didn't much feel like editing it, and the camera work wasn't that great to begin with. So bare minimum effort, but in future I'll try to edit these down more, two hours of paint streaming is not that interesting.


For my Deathwatch I took this opportunity to do another tutorial on painting flesh. This time I experimented with the camera and did a commentary pass after the filming was complete. While the quality was significantly better, and edited down to be watchable, it was still not quite up to a good standard. Howqever this is all the effort I'm willing to put in right now as this is not my job, nor do I care about monetization.


Finally, Monty here is my first part of my next Moments in History piece. Surprisingly quick and easy to do to be honest, as it is a technique that relies a lot on manual shades applied with a brush rather than an overall wash, so drying time tends not to be an issue. Unfortunately I'm not thrilled with working on Rommel right now, so we'll see how long he remains on my painting desk. That is pretty much everything for now, I'll see you in a month or two.