
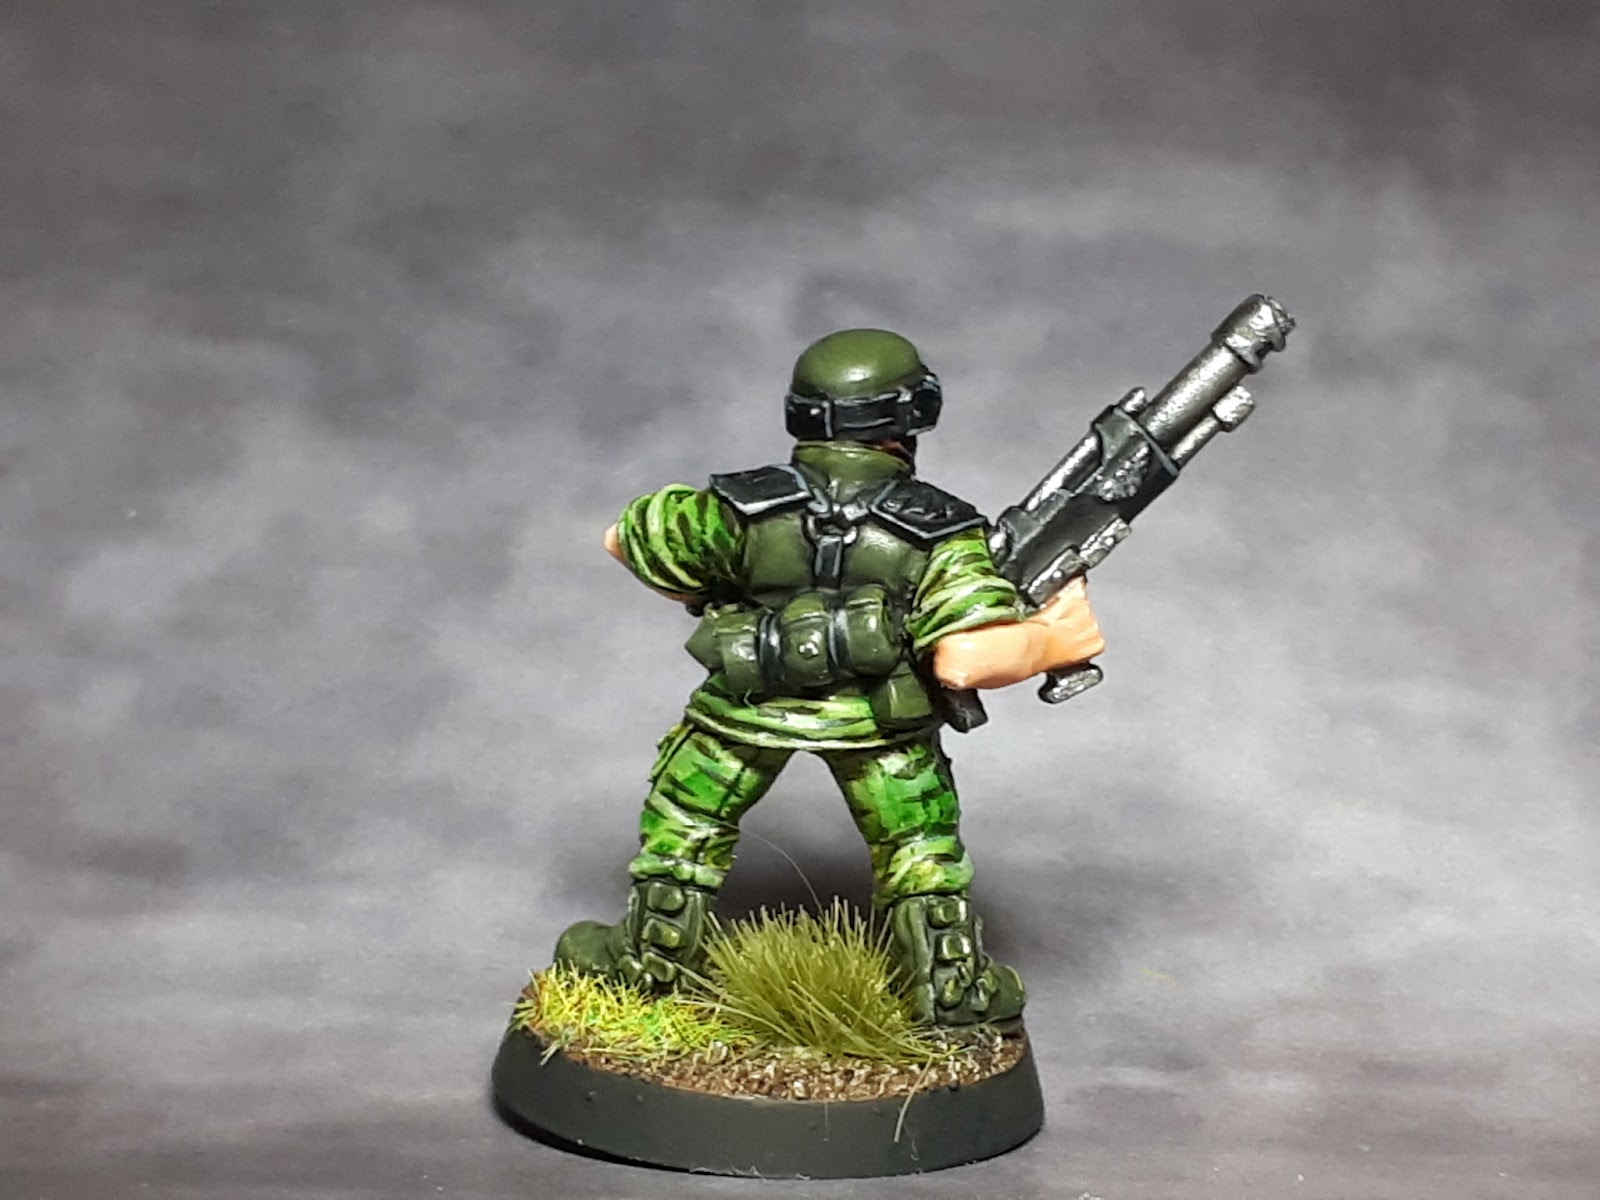
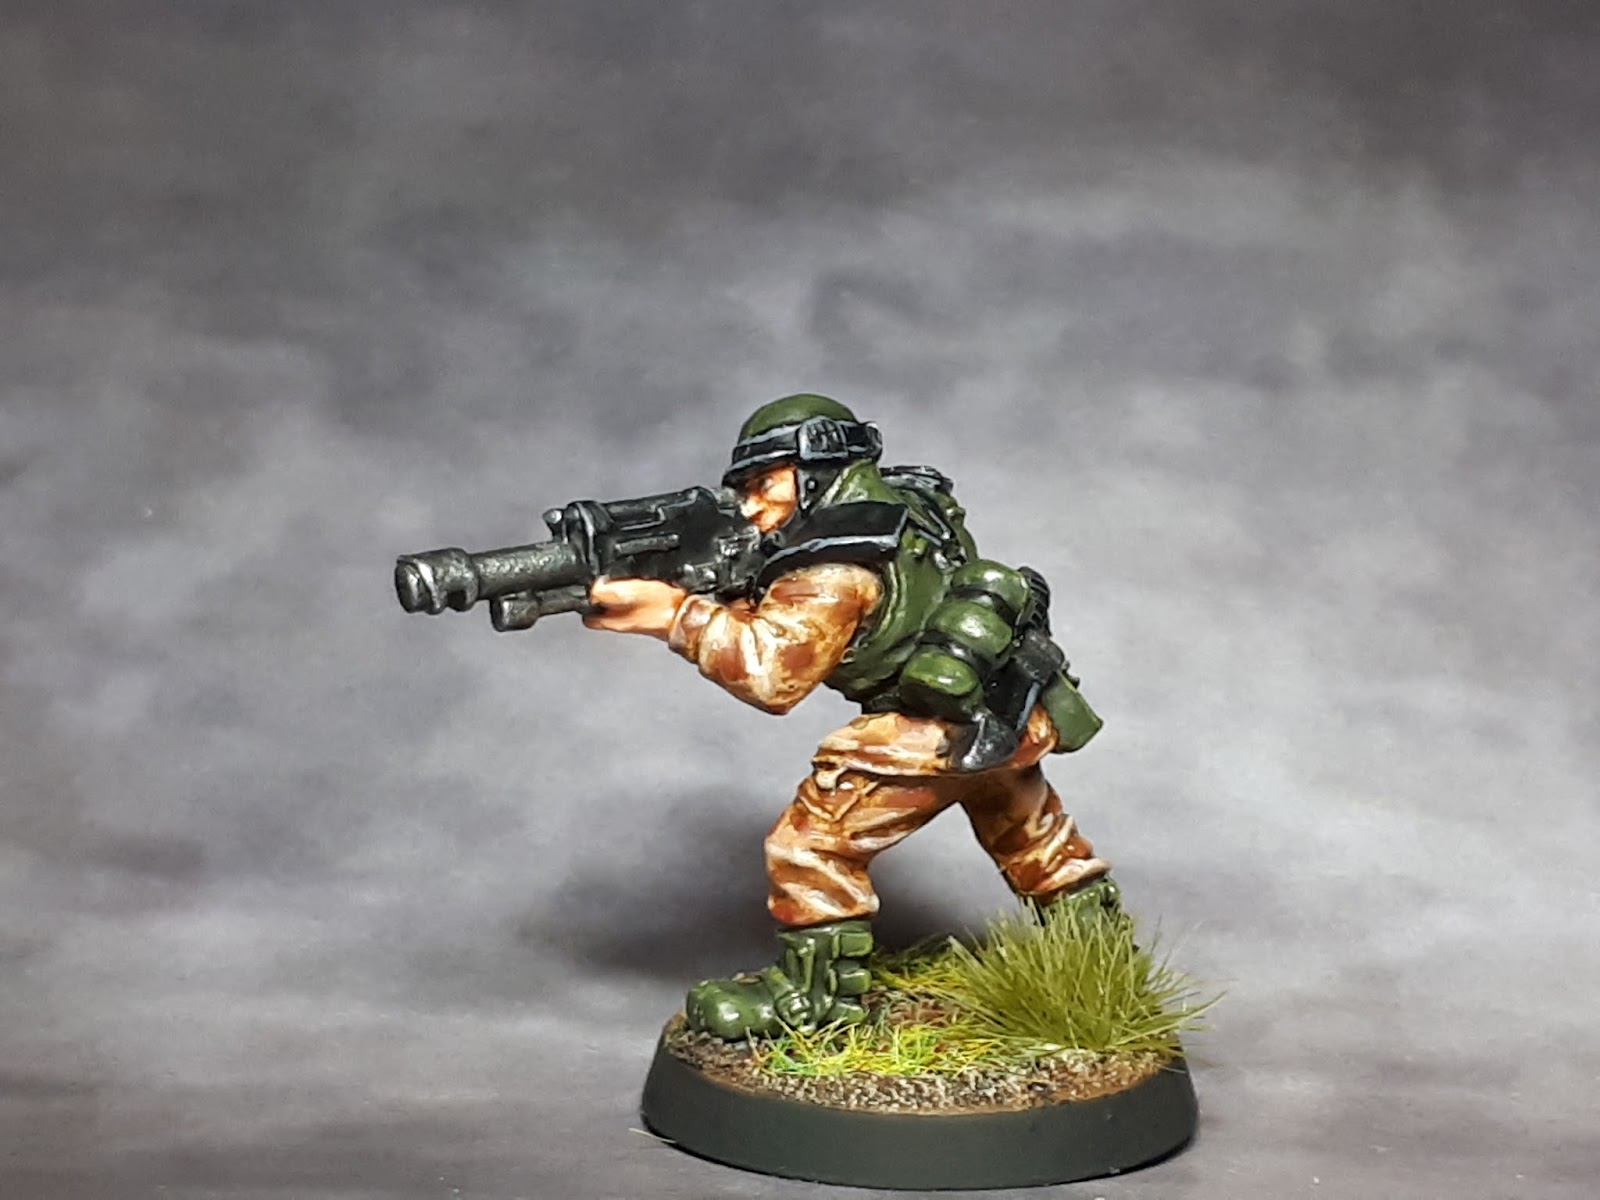
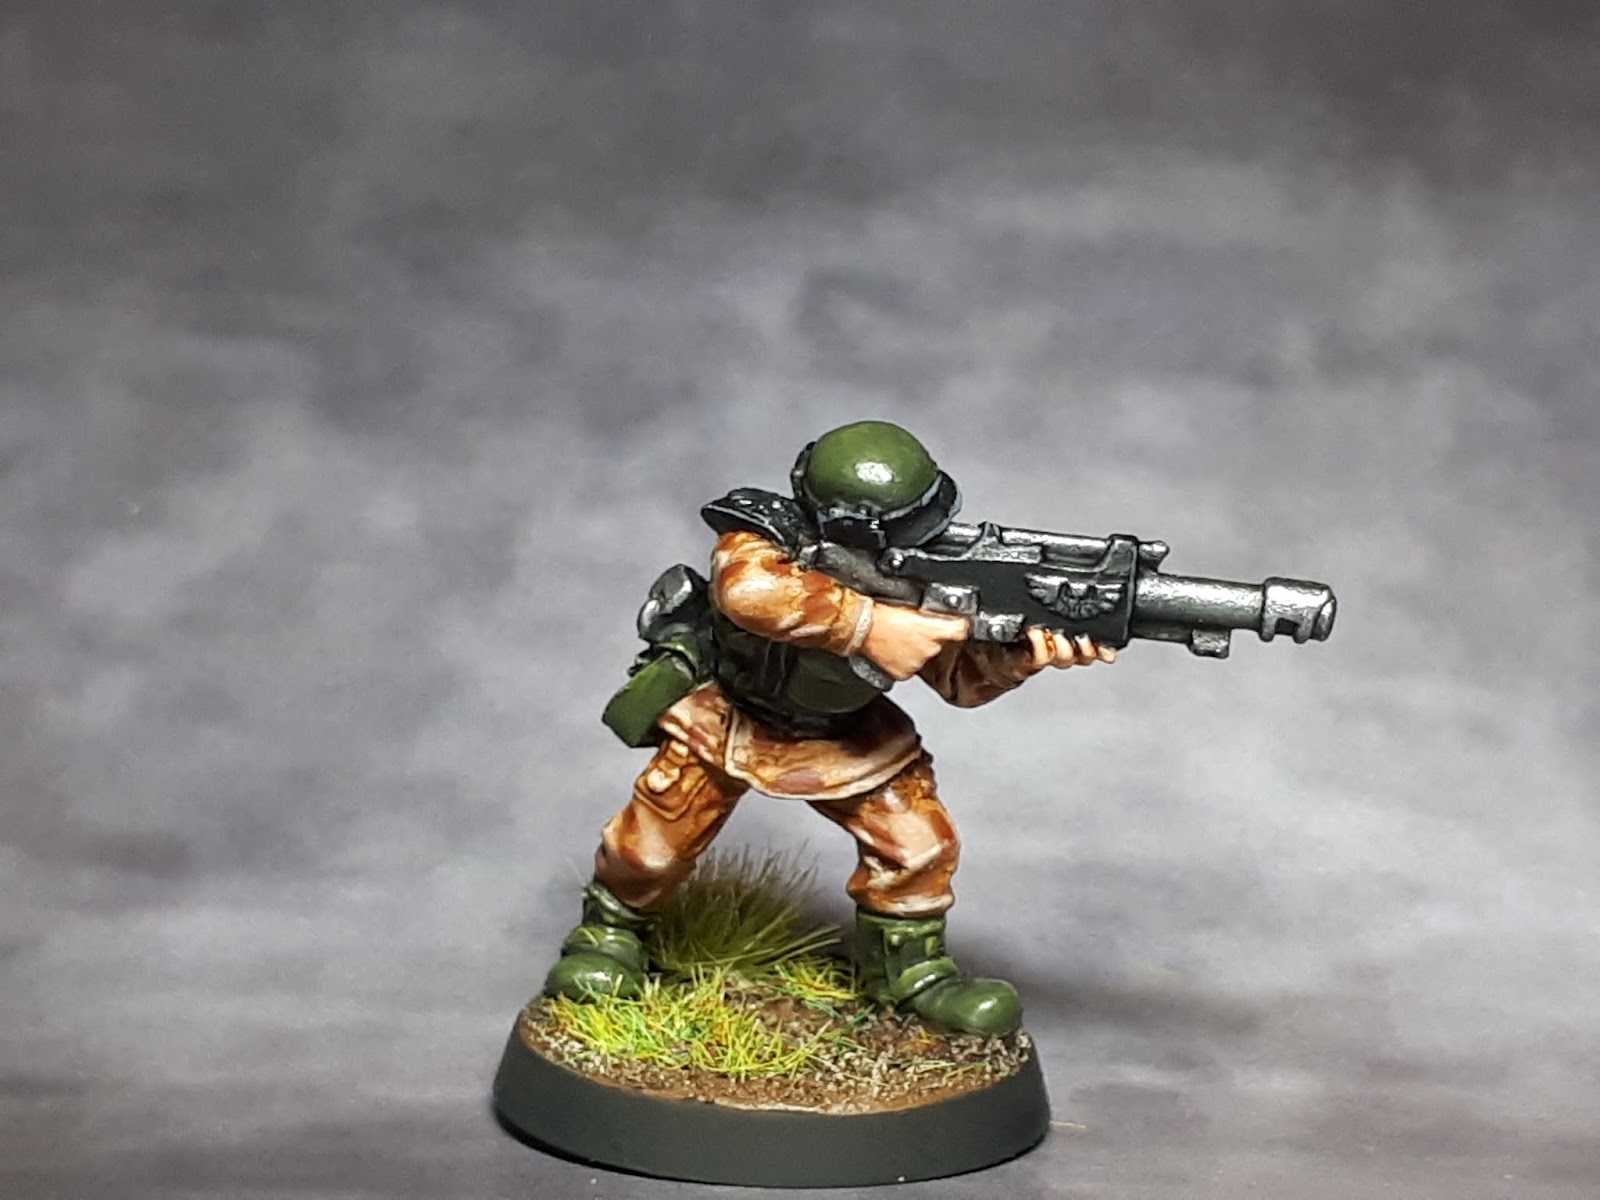
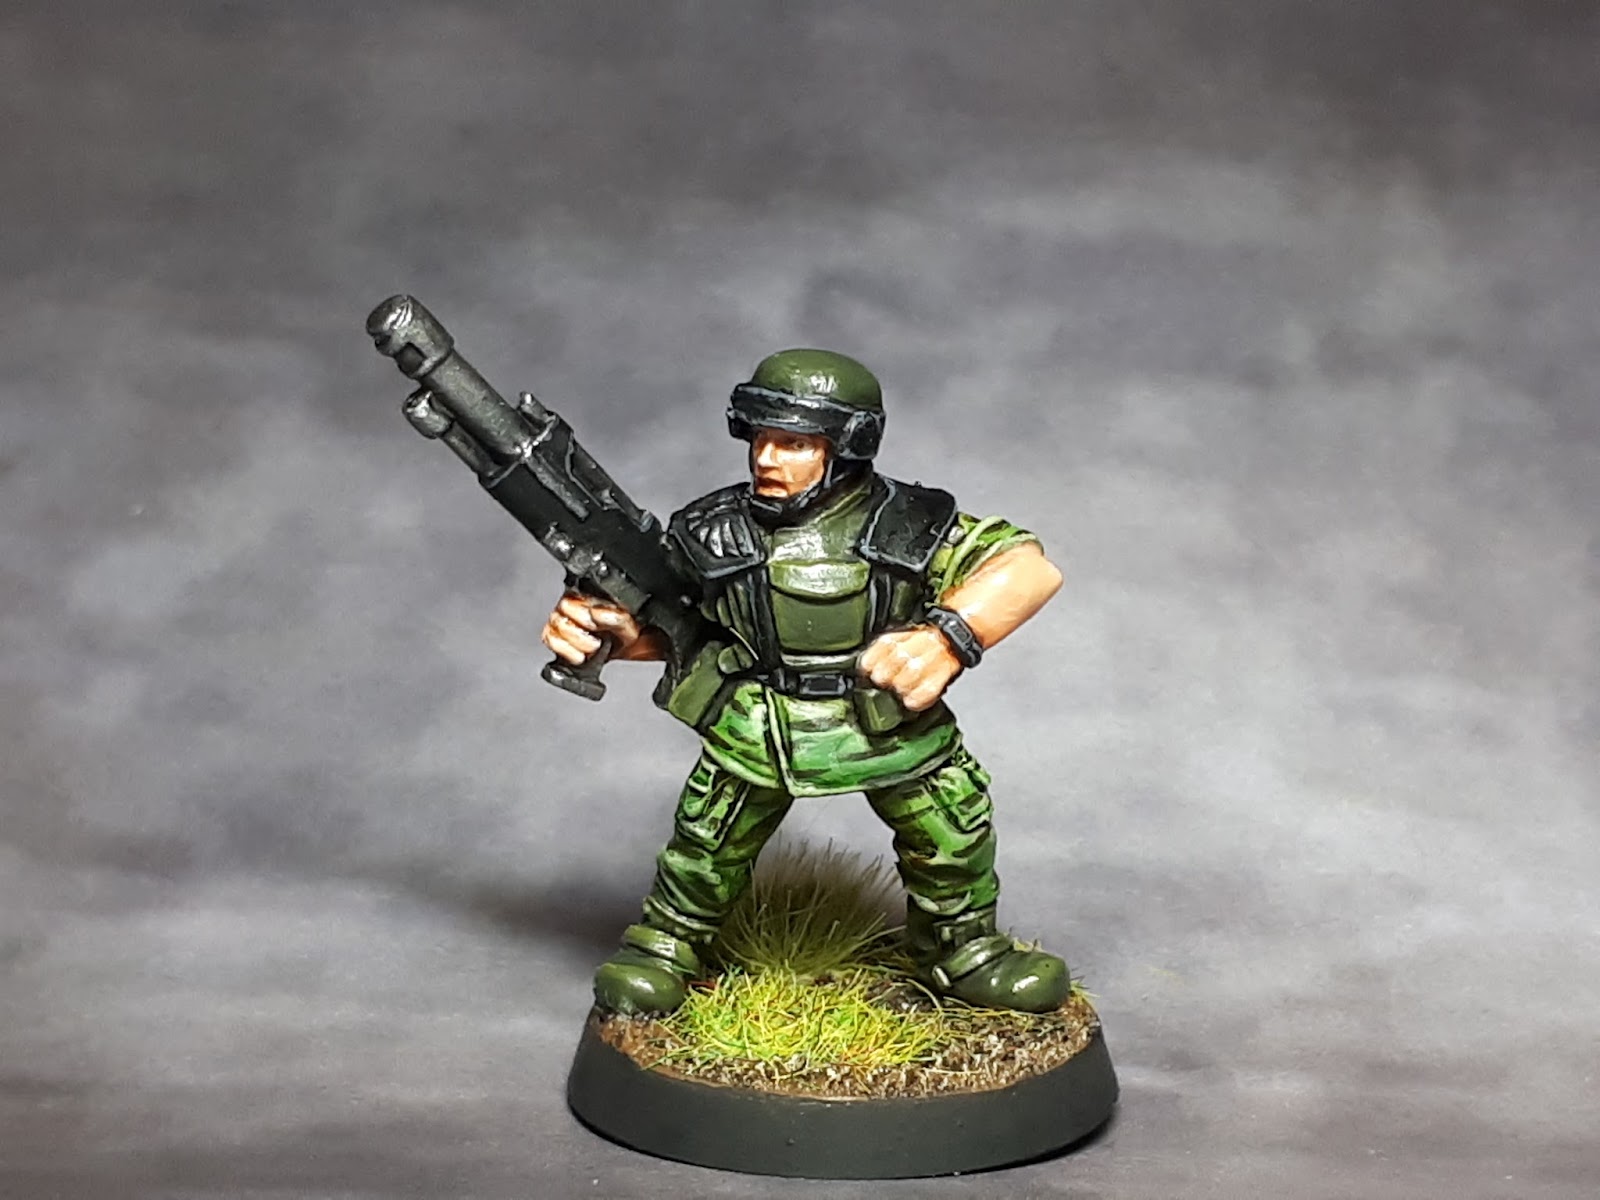
Camouflage Fatigues by way of Shaded Basecoat
The shaded basecoat technique is something that always seems like black magic to me. The fundamental idea of the technique is to start with a very light base coat and use layered, controlled washes to gradually bring the light basecoat down in tone to your base colour, while leaving the sharp edges and raised areas on the base colour to achieve your highlighting that way. I’ve attempted to apply this technique many times to a variety of different miniatures with a reasonable spread of success or failure. I’m particularly interested in this technique for painting camouflaged material, as it is hard to layer an intricate camouflage pattern using regular miniature painting techniques. I’ve had some a reasonable spread of success and overall have achieved a middling table-top level of quality. I think this technique could work well for batch painting larger armies for larger projects that require camouflaged uniforms, armies like world war two germans and cold war western armies are my go to examples.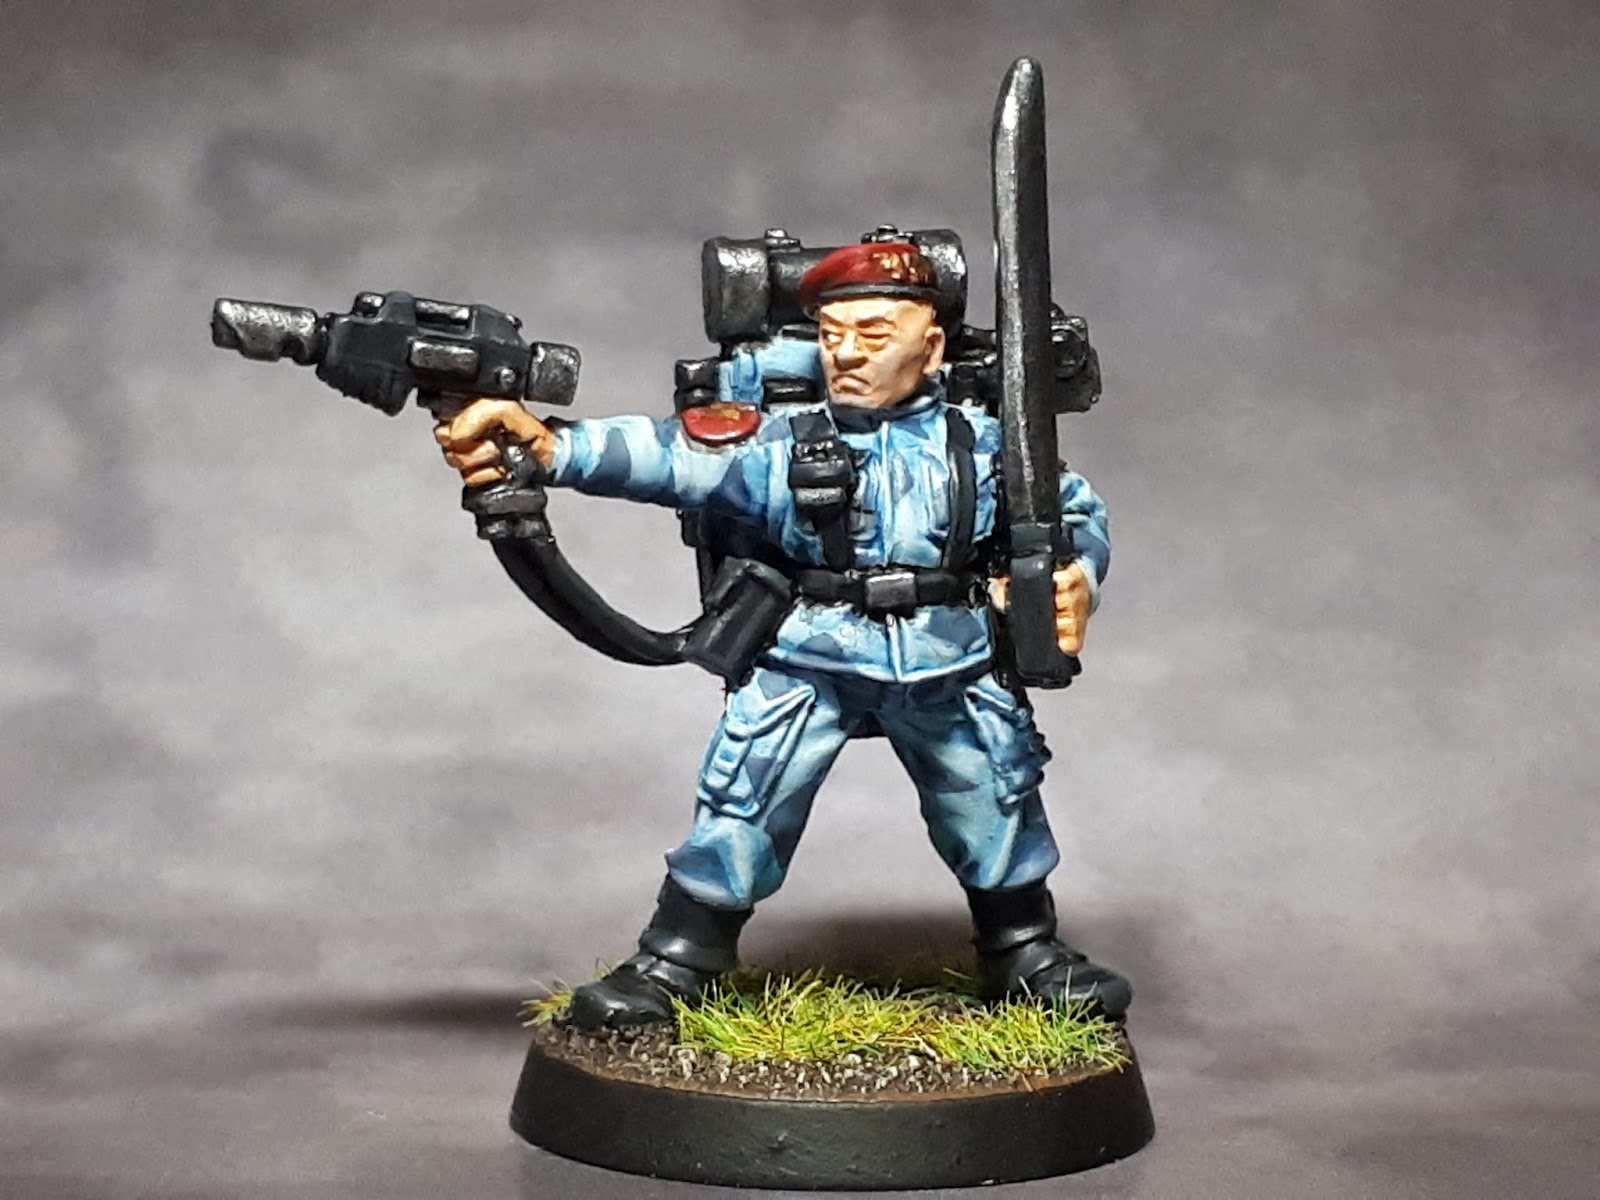
By the way, if you’d like to see this technique broken down by a far more competent painter, I’d recommend checking out James Wappel’s blog, the painter that invested the technique as far as I know.
http://wappellious.blogspot.com.au/p/using-shaded-basecoat-technique-to.html
Basecoating
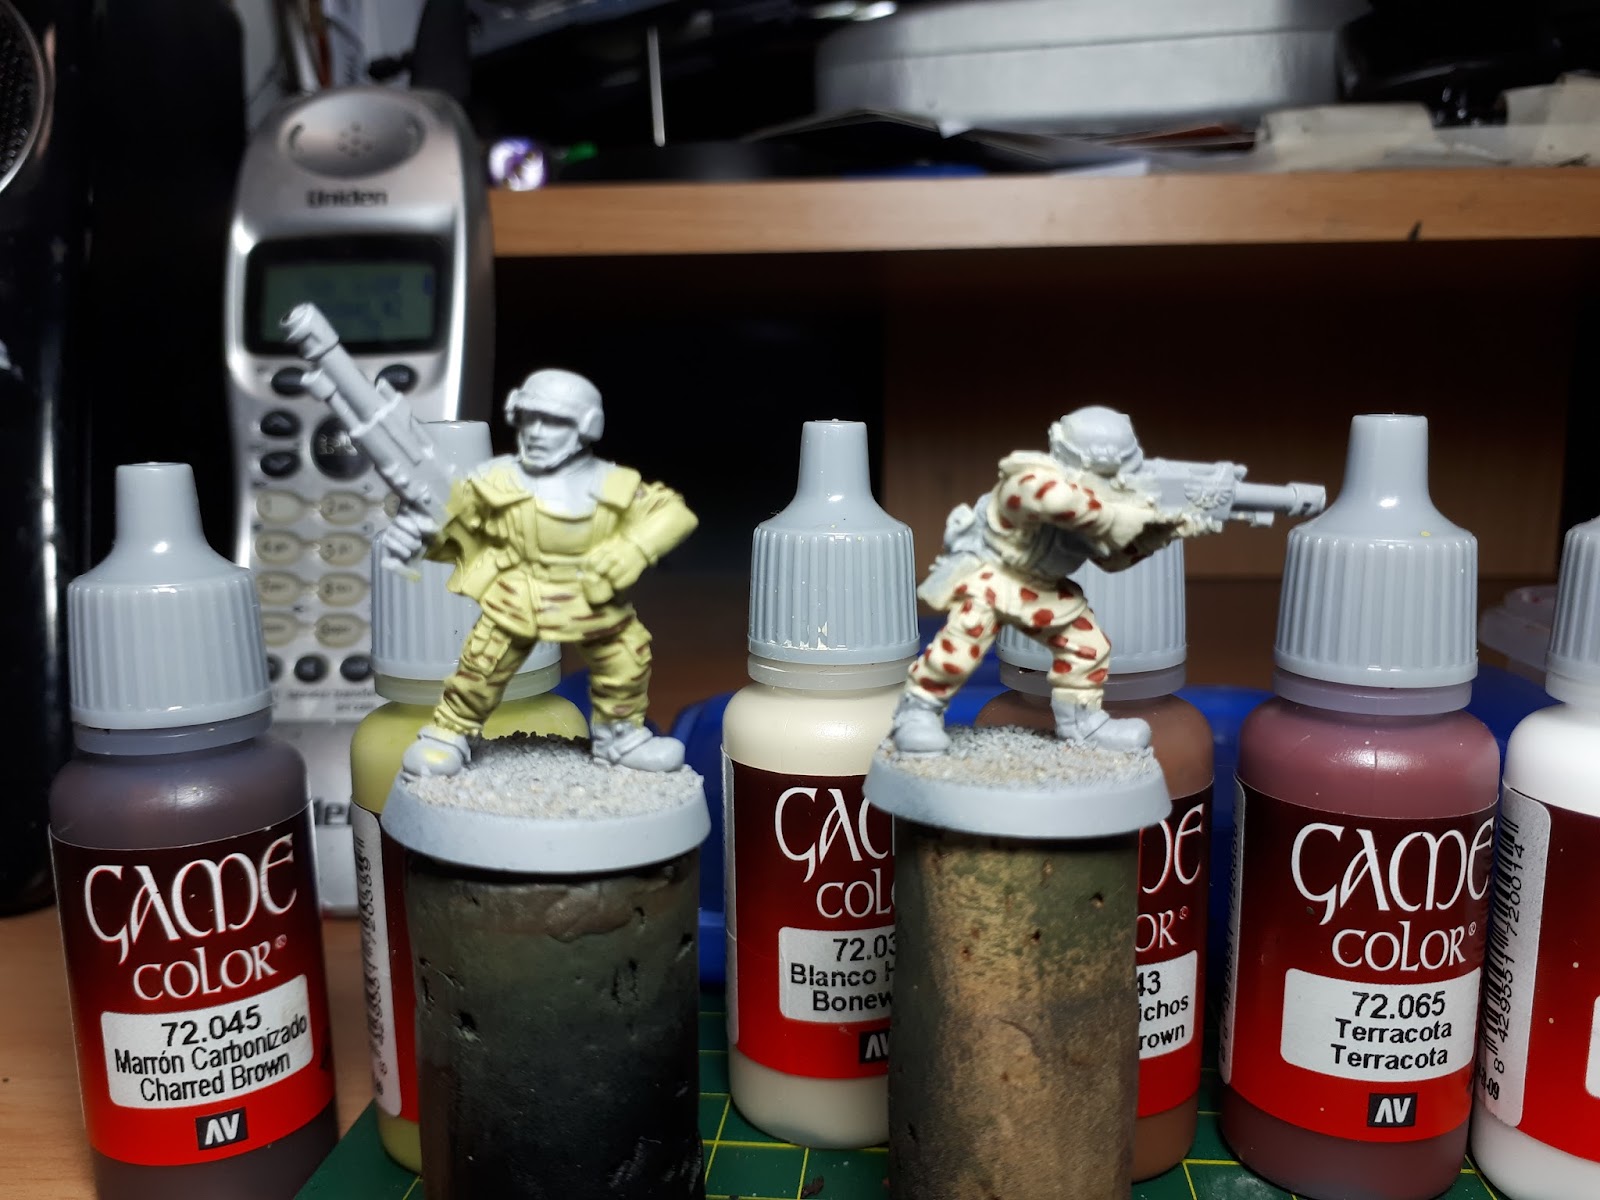
I’m aiming to paint tiger stripe jungle and a generic tan and brown pattern on the other. To get the base colours down I started with my highest highlight colour for the majority of the uniform. For the tiger stripe uniform I went with Dead Flesh, a pale green and Bonewhite for the tan uniform, which is a brown tinted white. After a three layer pass of the base colours I then pick a much darker pattern colour and established a solid pattern on the uniforms. A sharply contrasting colour is ideal here, go for blacks or dark browns in most cases, though dark grays and blues for urban camouflage.
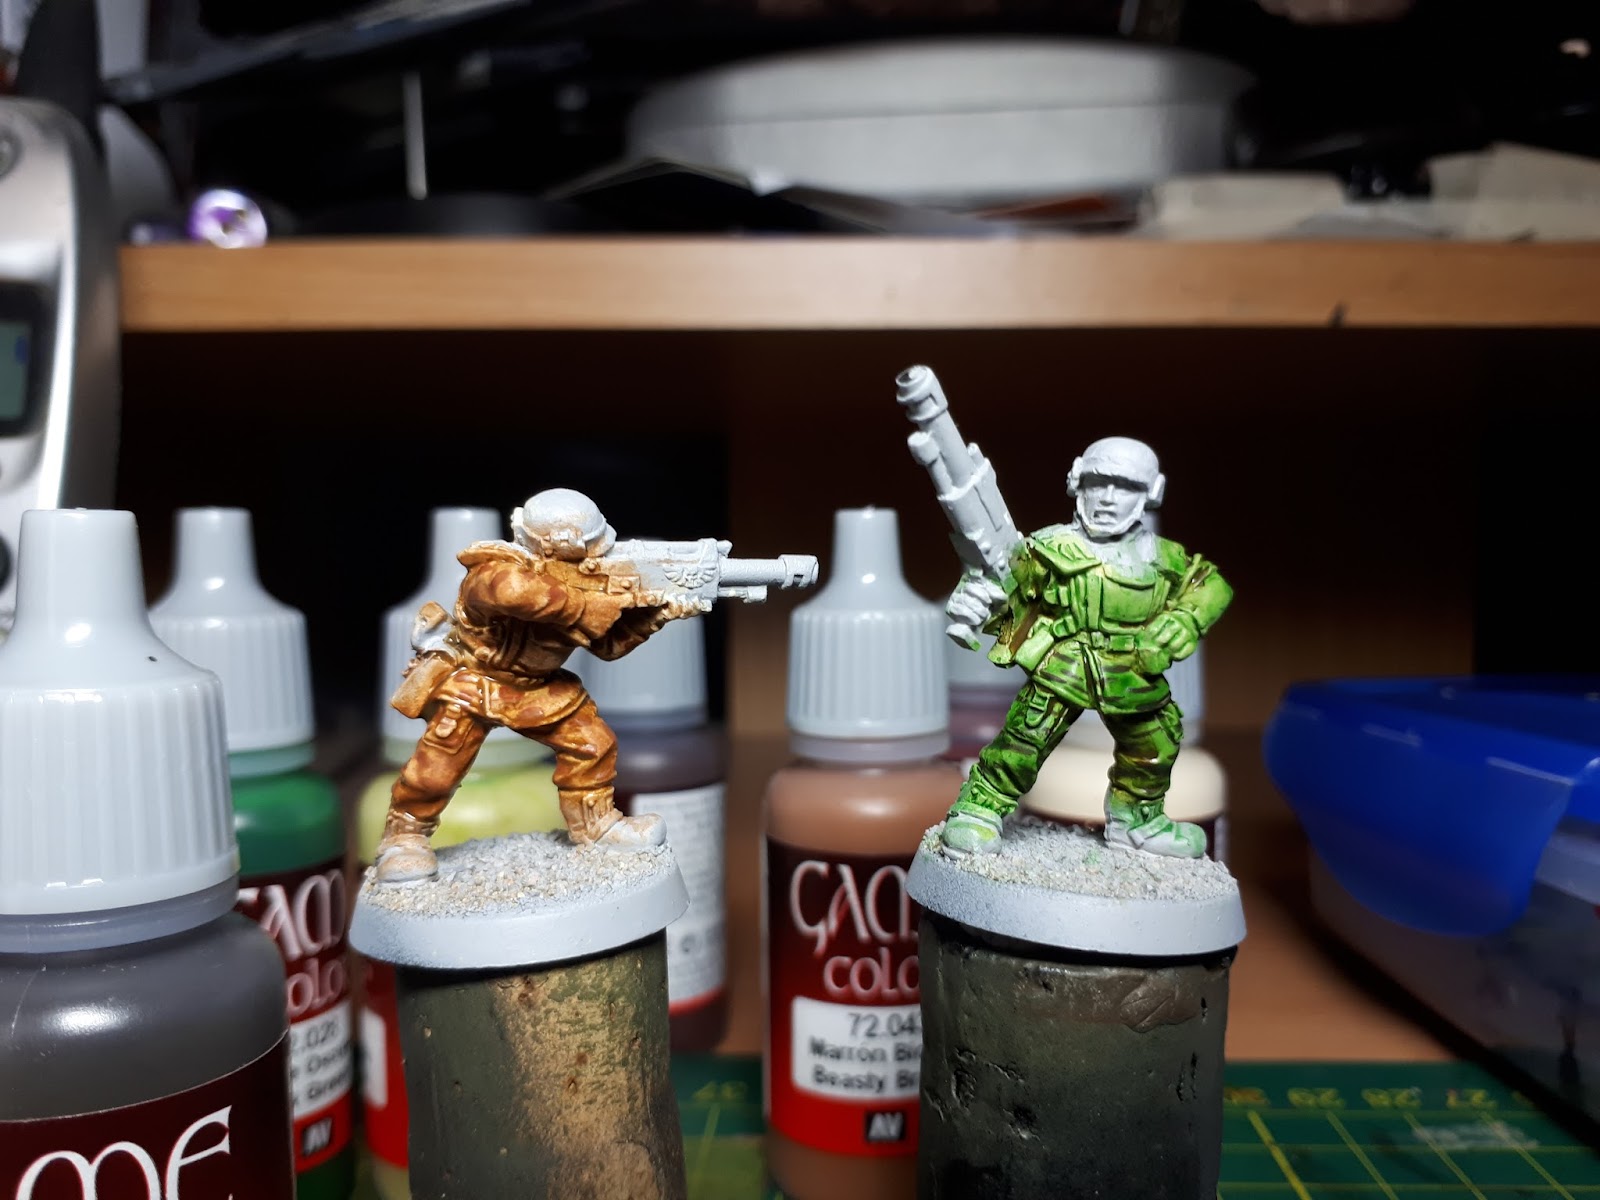
Shading

Next up select your mid-tone colour and make a thin glaze out of it, I used a mixture of vallejo glaze medium, water, and my colour to do this. This stage can take the most time, as you have to wait for each application to dry between coats. The goal is to tint the entirety of the model with your mid-tone, and add further colour to the shadows and recesses to emphasise the folds on the uniform. Don’t worry about going over the pattern colours, as the dark colour will be far less affected by the glazes than the main colour will be. I did this about six times, though you should repeat this process until you are happy with the result.
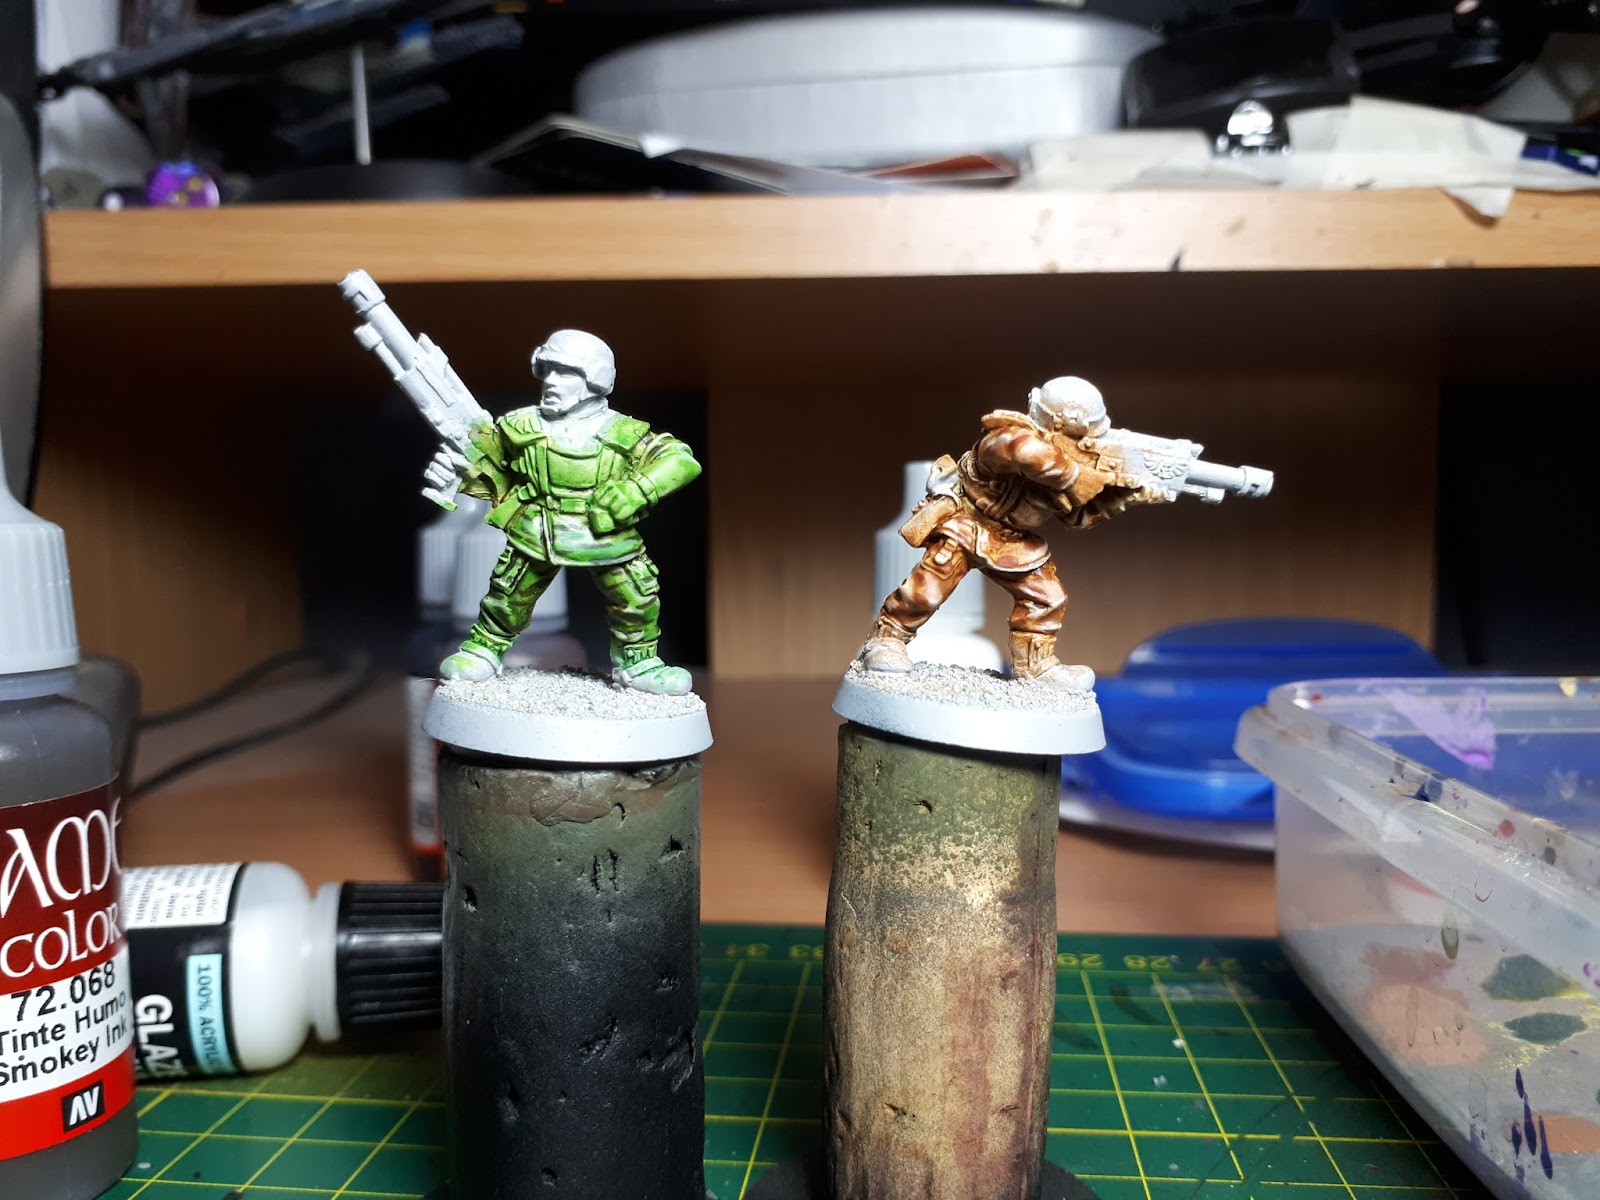
Deepest Shades
To further emphasise the deepest shadows I’ve taken a darker brown ink and applied it to the deepest recesses and in between the legs. The colour I used in this instance is Game Colour Smokey Ink, though any sufficiently dark brown ink or wash will work just as well.
Highlights
I’ve re-applied my highlights where I felt it was necessary, using a mix of the mid-tone and the highlight colour for the broad flat highlights and the pure highlight colour for the sharpest edges. This should finish up the basic shape of your uniform. At this stage I also reapplied the pattern colours where I thought it was necessary. Now go ahead and finish the remaining details on the miniature.
Final Results
No comments:
Post a Comment