
Introduction
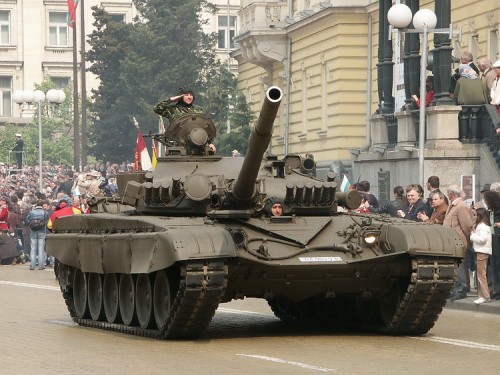
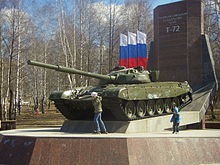
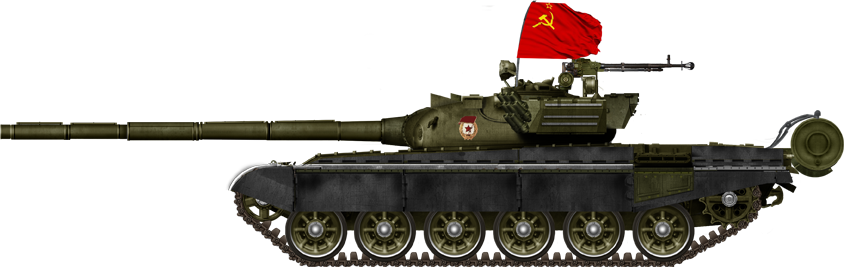
The T-72, first put into serial production in 1973 in order to update the Soviet Tank Arsenal which consisted of the T-54/55, which was a tank of immediately post World War 2 Vintage, and the T-64, which was plagued with a variety of technical and production problems which limited its production. This tank was optimised for mass production, combining a low silhouette with modern armament and armour. Around the 1985, the year the events of Team Yankee take place, the T-72 was the mainstay armoured vehicle of the Soviet Union and all her satellite republics, produced under licence in Poland, Yugoslavia, Czechoslovakia, and others. Moving on to the present day, the T-72 remains in service with many countries and is still being produced. In terms of combat performance it does suffer from lack of armour compared to its contemporary armoured vehicles, but none the less it remains a ubiquitous armoured vehicle.
In terms of painting, while the rule books gives an official colour guide, they are listed in the Colours of War range by Battlefront. Since I’ve had a hard time getting my hands on the necessary colours I’ve opted to start with experimenting with Vallejo and working from there.
Hull
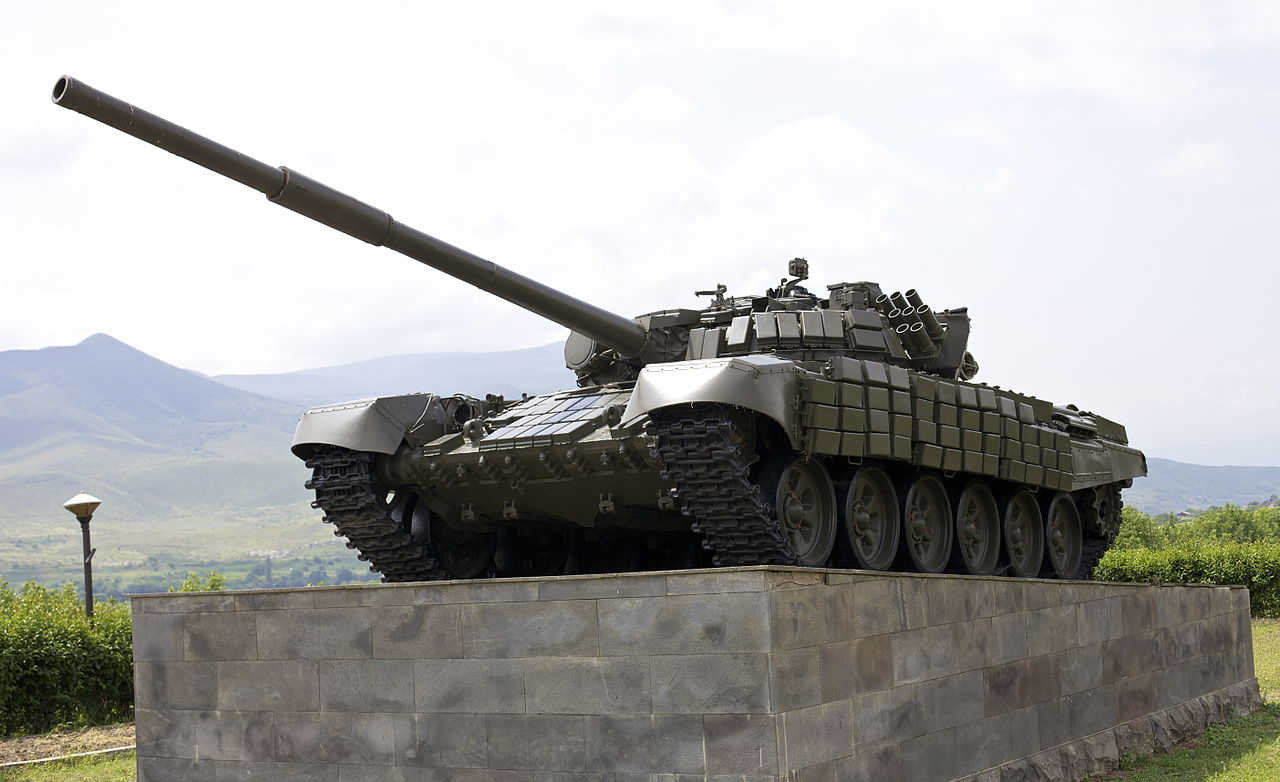
I based the hull colour on a variety of photo reference of T-72s from the 1985 period and more generally. With these references I experimented with a variety of colours, and in the end settled on US Dark Green (VMC 70.893). This colour is probably a little darker than a couple of the examples listed, but ultimately it doesn’t matter that much as I lightened it up with some Buff (VMC 70.976) mixed into the base colour to get the highlights.
The base coat is going to go on as four to five thin layers over all hull areas of the entire model. Once that is done I applied a slightly thinned down wash of Army Painter Dark Tone Ink. Once the wash is down I used a damp brush to clean up the excess in order to prevent tide marks and large, ugly patches of wash from pooling.
 And now I’ve done a heavy drybrush of US Dark Green, followed by a lighter drybrush of a roughly ¼ ratio mix of Buff and US Dark Green.

Tracks
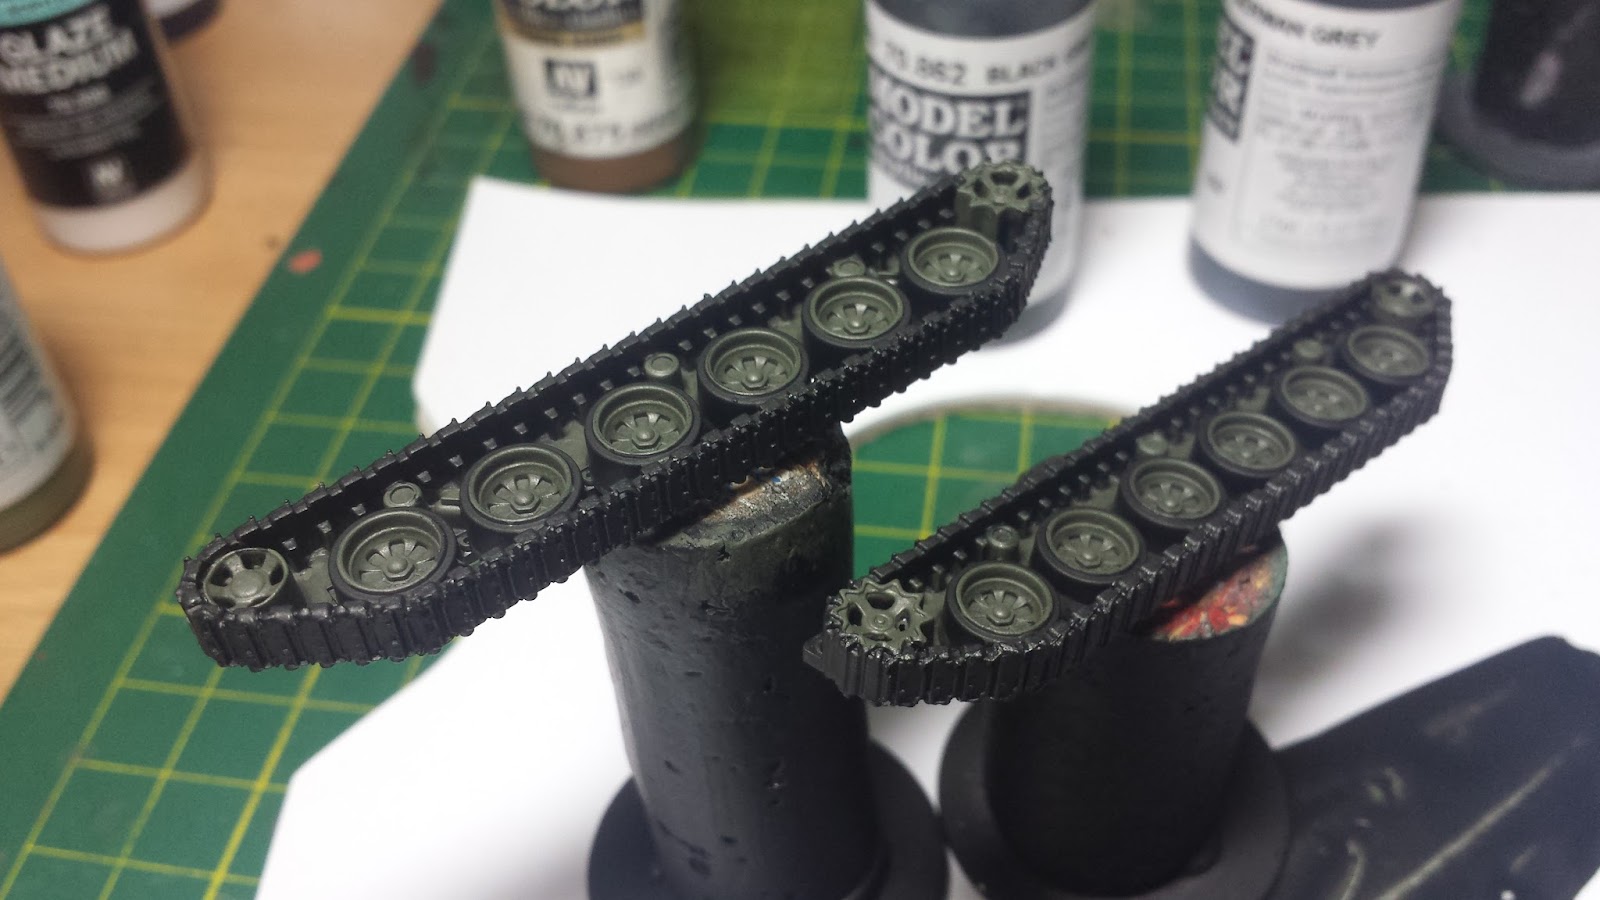
After I finished the first pass on the hull colour I started on the details. The first being the rubber skirts and rubber road wheels. To start with I did a 2-3 layer basecoat of Black (VMC 70.950). Next up I layered Black Grey (VMC 70.862) over the black.
The tracks modelled on the model appear to be the metallic only version, lacking the rubber pads that make it easier to drive on roads. Therefore I’m opting to paint the tracks pure metallic. Since I want to keep the metals realistic, hence muted metallics. To do this I will use Black mixed in with Gunmetal Grey (VMC 70.863) at a 4/1 Black/Gunmetal ratio. Once our basecoat is down and dry I’ll give the tracks a very light drybrush of a Black/Gunmetal mix at a 2/1 ratio.
I also did a first pass at weathering the tank at this stage. To do this I washed in some Chocolate Brown (VMC 70.872). To get this wash I mixed the colour in question with a heavy amount of glaze medium. Once the weathering is dry I did another light drybrush with with the 2/1 mix of Black/Gunmetal.
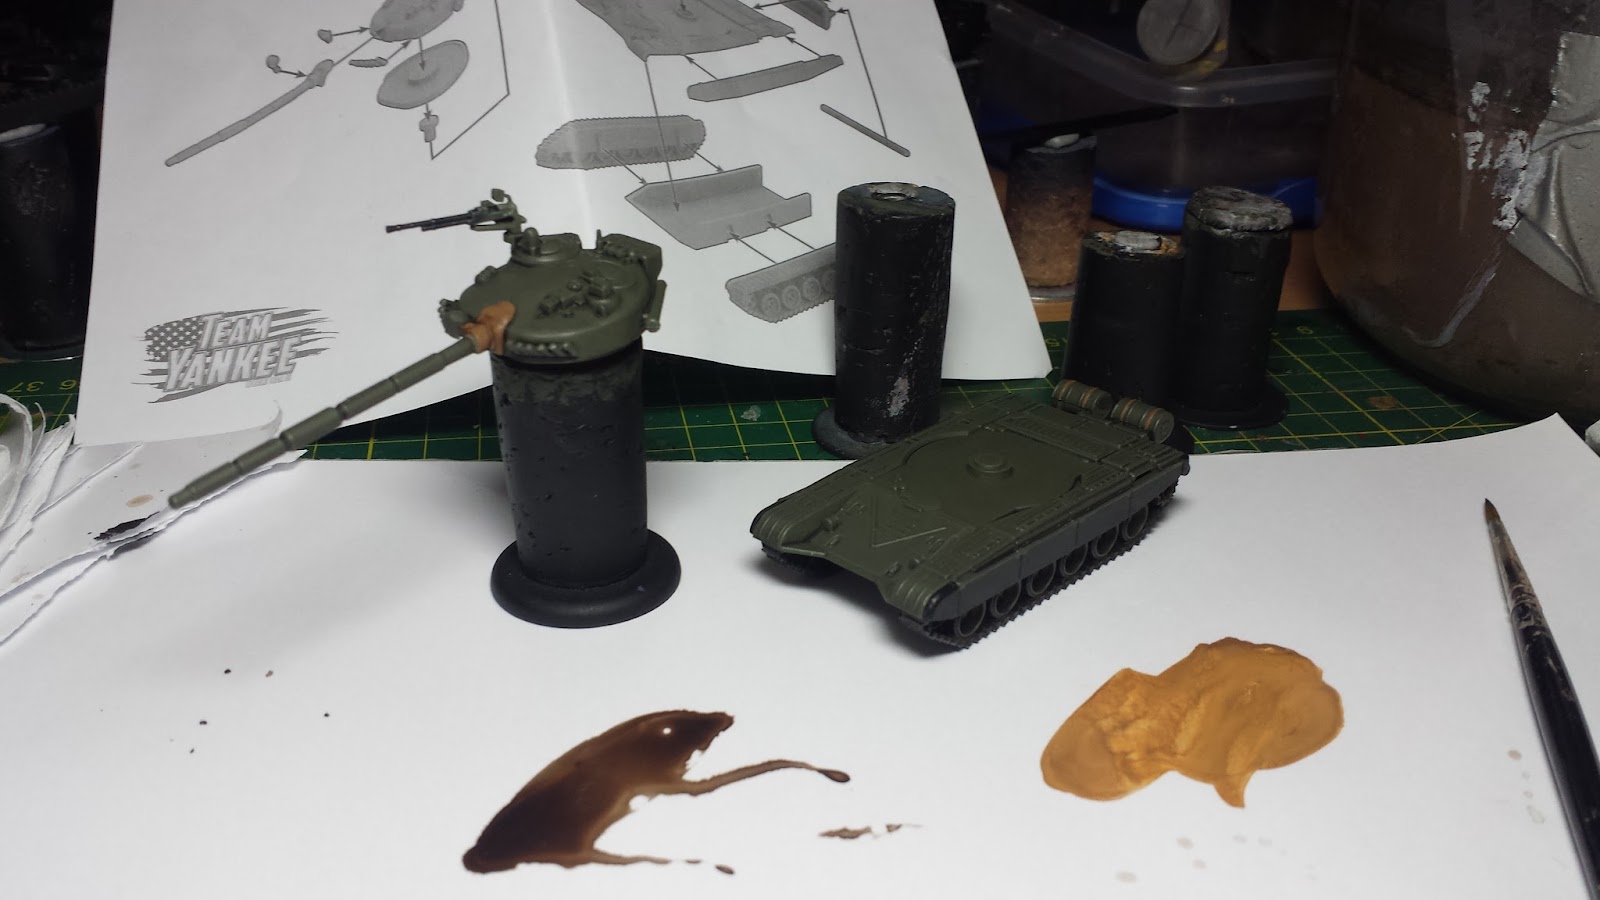
At this point I left the tracks to dry overnight as the glaze medium drastically slows down trying time. Once that was completed I assembled the lower hull and let it dry. While that was going I painted the Canvas Mantlet cover on the main gun. For this colour I used Beige Brown (VMC 70.875), once it was dry I followed up with a wash of Army Painter Strong Tone Ink, let it dry, then re-layered all but the deepest recesses with Beige Brown.
Fitting It Together
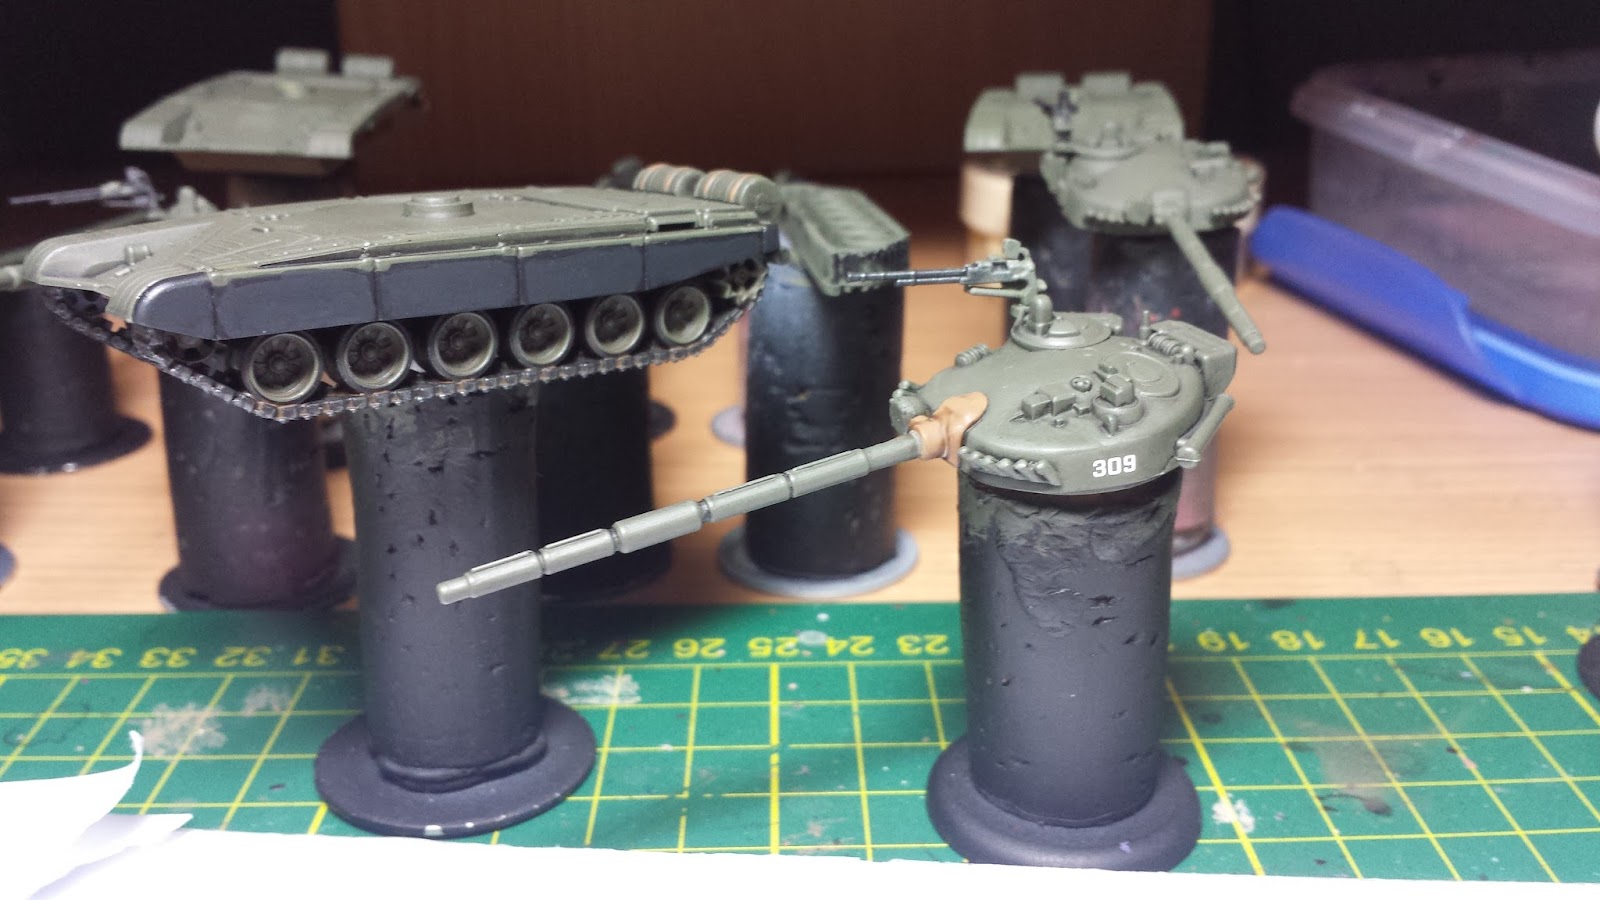
Next up I applied the transfers using my usual combination of Glaze Medium and Gloss Varnish (VMC 70.596 and VMC 70.510) to prepare the surface. Then I used Microscale Industries Micro Set and Micro Sol to prepare and apply the stenciled number transfers that came with the models. I left them for an hour to fully set, then I applied a mixture of Matt Varnish (VMC 70.520) and Glaze Medium in order to kill the gloss from the preparation step.
To Finish the T-72 I did two drybrush layers. The first layer was an soft, overall layer of Dark Sand (VMC 70.847), for this model I went a bit too heavy, as I often do with dry brushing. For future models I will remember to take it easy. Next up I did a fairly heavy drybrush of Flat Earth (VMC 70.983) on the lower hull, side skirts, tracks and running gear. At this point I’ll finish up the DSHK with the same colours that I used for the tracks, except I didn’t bother to highlight the metal.
Final Highlights
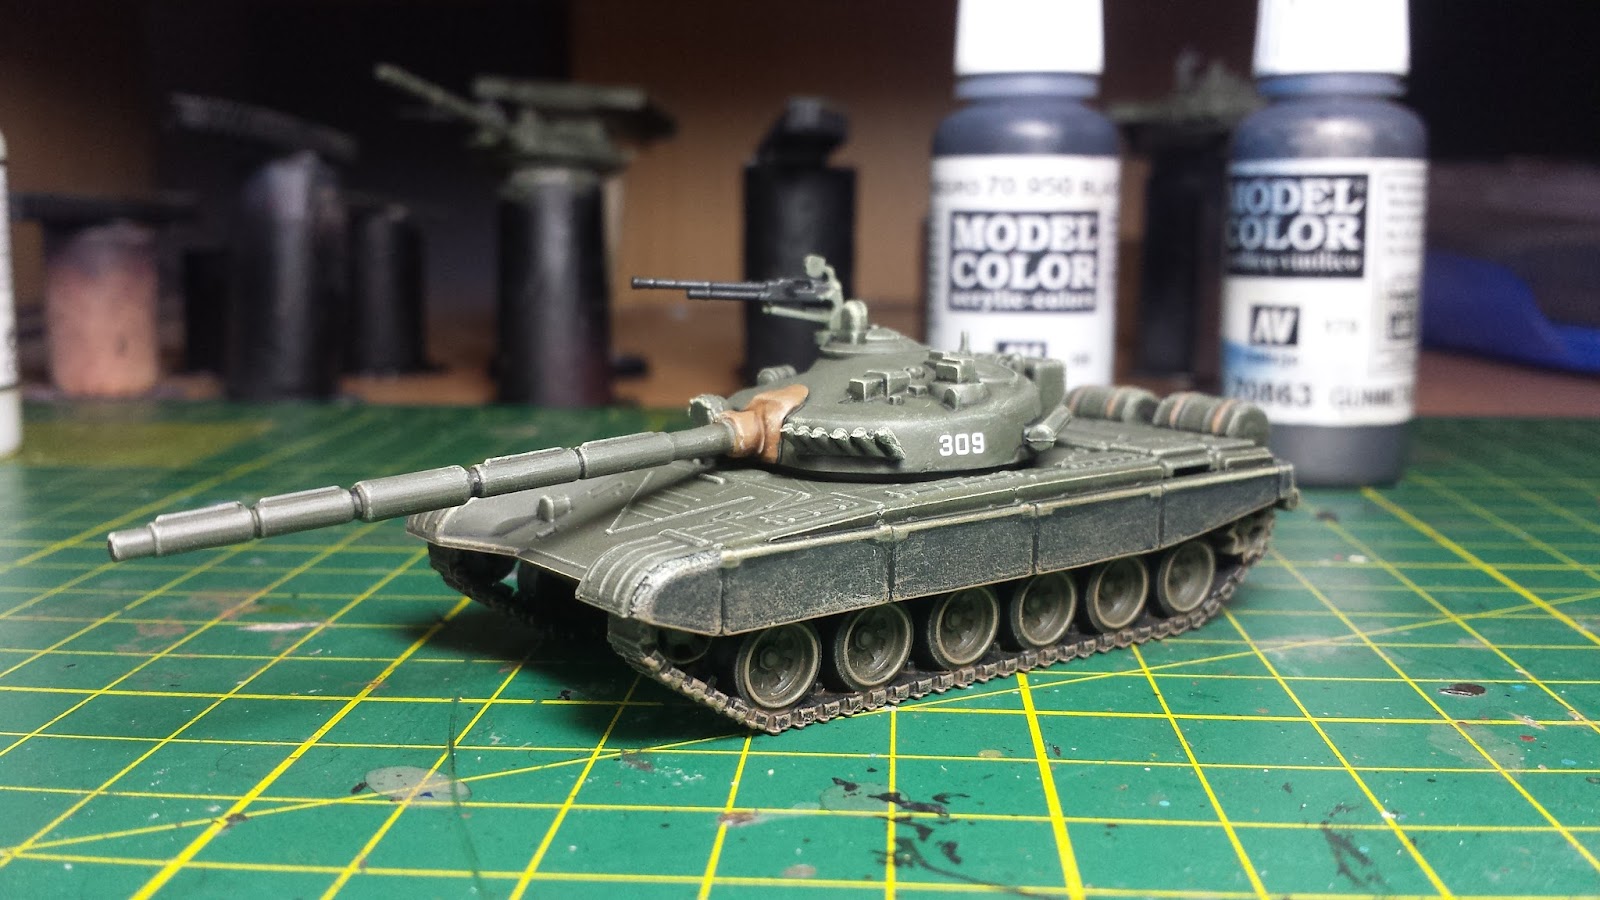
With that done our model is complete. Overall I’m happy with this result, especially since I have nine more of these vehicles to complete and the time taken to achieve this result was very quick in terms of working time. I could probably batch the entire line out in a weekend if I had the inclination to do so. One thing I didn’t get quite right compared to real life were the ammunition boxes on the cupola machine gun. They were normally a canvas of some kind or a differently coloured metal, but I opted to leave them the same colour as the hull out because I am a lazy painter with too many models to paint.
I’m planning to use this paint scheme for the rest of my Team Yankee Soviets, and will work perfectly for any other vehicle in the Soviet army list, save for the aircraft. Once I finish off the tanks are done I’ll have a crack at the Hinds and write up the results. I hope this guide was useful to you and thanks for reading.
Colours List
Vallejo
US Dark Green (VMC 70.893)
Buff (VMC 70.976)
Black (VMC 70.950)
Black Grey (VMC 70.862)
Gunmetal Grey (VMC 70.863)
Chocolate Brown (VMC 70.872)
Beige Brown (VMC 70.875)
Dark Sand (VMC 70.847)
Flat Earth (VMC 70.983)
Glaze Medium (VMC 70.596)
Gloss Varnish (VMC 70.510)
Matt Varnish (VMC 70.520)
Army Painter
Army Painter Dark Tone Ink
Army Painter Soft Tone Ink
Introduction
The T-72, first put into serial production in 1973 in order to update the Soviet Tank Arsenal which consisted of the T-54/55, which was a tank of immediately post World War 2 Vintage, and the T-64, which was plagued with a variety of technical and production problems which limited its production. This tank was optimised for mass production, combining a low silhouette with modern armament and armour. Around the 1985, the year the events of Team Yankee take place, the T-72 was the mainstay armoured vehicle of the Soviet Union and all her satellite republics, produced under licence in Poland, Yugoslavia, Czechoslovakia, and others. Moving on to the present day, the T-72 remains in service with many countries and is still being produced. In terms of combat performance it does suffer from lack of armour compared to its contemporary armoured vehicles, but none the less it remains a ubiquitous armoured vehicle.
In terms of painting, while the rule books gives an official colour guide, they are listed in the Colours of War range by Battlefront. Since I’ve had a hard time getting my hands on the necessary colours I’ve opted to start with experimenting with Vallejo and working from there.
Hull
I based the hull colour on a variety of photo reference of T-72s from the 1985 period and more generally. With these references I experimented with a variety of colours, and in the end settled on US Dark Green (VMC 70.893). This colour is probably a little darker than a couple of the examples listed, but ultimately it doesn’t matter that much as I lightened it up with some Buff (VMC 70.976) mixed into the base colour to get the highlights.
The base coat is going to go on as four to five thin layers over all hull areas of the entire model. Once that is done I applied a slightly thinned down wash of Army Painter Dark Tone Ink. Once the wash is down I used a damp brush to clean up the excess in order to prevent tide marks and large, ugly patches of wash from pooling.
And now I’ve done a heavy drybrush of US Dark Green, followed by a lighter drybrush of a roughly ¼ ratio mix of Buff and US Dark Green.
Tracks
After I finished the first pass on the hull colour I started on the details. The first being the rubber skirts and rubber road wheels. To start with I did a 2-3 layer basecoat of Black (VMC 70.950). Next up I layered Black Grey (VMC 70.862) over the black.
The tracks modelled on the model appear to be the metallic only version, lacking the rubber pads that make it easier to drive on roads. Therefore I’m opting to paint the tracks pure metallic. Since I want to keep the metals realistic, hence muted metallics. To do this I will use Black mixed in with Gunmetal Grey (VMC 70.863) at a 4/1 Black/Gunmetal ratio. Once our basecoat is down and dry I’ll give the tracks a very light drybrush of a Black/Gunmetal mix at a 2/1 ratio.
I also did a first pass at weathering the tank at this stage. To do this I washed in some Chocolate Brown (VMC 70.872). To get this wash I mixed the colour in question with a heavy amount of glaze medium. Once the weathering is dry I did another light drybrush with with the 2/1 mix of Black/Gunmetal.
At this point I left the tracks to dry overnight as the glaze medium drastically slows down trying time. Once that was completed I assembled the lower hull and let it dry. While that was going I painted the Canvas Mantlet cover on the main gun. For this colour I used Beige Brown (VMC 70.875), once it was dry I followed up with a wash of Army Painter Strong Tone Ink, let it dry, then re-layered all but the deepest recesses with Beige Brown.
Fitting It Together
Next up I applied the transfers using my usual combination of Glaze Medium and Gloss Varnish (VMC 70.596 and VMC 70.510) to prepare the surface. Then I used Microscale Industries Micro Set and Micro Sol to prepare and apply the stenciled number transfers that came with the models. I left them for an hour to fully set, then I applied a mixture of Matt Varnish (VMC 70.520) and Glaze Medium in order to kill the gloss from the preparation step.
To Finish the T-72 I did two drybrush layers. The first layer was an soft, overall layer of Dark Sand (VMC 70.847), for this model I went a bit too heavy, as I often do with dry brushing. For future models I will remember to take it easy. Next up I did a fairly heavy drybrush of Flat Earth (VMC 70.983) on the lower hull, side skirts, tracks and running gear. At this point I’ll finish up the DSHK with the same colours that I used for the tracks, except I didn’t bother to highlight the metal.
Final Highlights
With that done our model is complete. Overall I’m happy with this result, especially since I have nine more of these vehicles to complete and the time taken to achieve this result was very quick in terms of working time. I could probably batch the entire line out in a weekend if I had the inclination to do so. One thing I didn’t get quite right compared to real life were the ammunition boxes on the cupola machine gun. They were normally a canvas of some kind or a differently coloured metal, but I opted to leave them the same colour as the hull out because I am a lazy painter with too many models to paint.
I’m planning to use this paint scheme for the rest of my Team Yankee Soviets, and will work perfectly for any other vehicle in the Soviet army list, save for the aircraft. Once I finish off the tanks are done I’ll have a crack at the Hinds and write up the results. I hope this guide was useful to you and thanks for reading.
Colours List
Vallejo
US Dark Green (VMC 70.893)
Buff (VMC 70.976)
Black (VMC 70.950)
Black Grey (VMC 70.862)
Gunmetal Grey (VMC 70.863)
Chocolate Brown (VMC 70.872)
Beige Brown (VMC 70.875)
Dark Sand (VMC 70.847)
Flat Earth (VMC 70.983)
Glaze Medium (VMC 70.596)
Gloss Varnish (VMC 70.510)
Matt Varnish (VMC 70.520)
Army Painter
Army Painter Dark Tone Ink
Army Painter Soft Tone Ink
No comments:
Post a Comment